

Creating Textures With Acrylic Paint
Learning how to paint on a board will add extra interest to your painting through varied texture, which can be created using a palette knife, Stanley knife blades, glazing and different types of brushes. The overall impression is vibrant, with depth of colour and texture not easily created on paper.
In this workshop, we'll be painting the city of Venice. Its vast architectural structures and eerily quiet atmospheric canals and narrow streets are fascinating to paint. We'll be taking an aerial view that enables us to incorporate some interesting foreground detail, rooftops and plenty of opportunity to create texture and happy accidents. There will also be an element of narrative in the work, with an imagined market scene and a couple on a roof terrace to add further interest. Want more? Try our roundup of how to draw tutorials and these essential art techniques. If you need kit, head to our art supplies list.
01. Prime your board
(Image: © Adrian Sykes)
First, prime your board well. Board is ideal because the following methods described would be too abrasive for canvas and could damage it, and the resistance of working on board feels great. Be liberal with the acrylic underpaint so that an interesting surface is created. The more unpredictable the surface, the better! This will help when applying the glazing at a later stage in the painting.
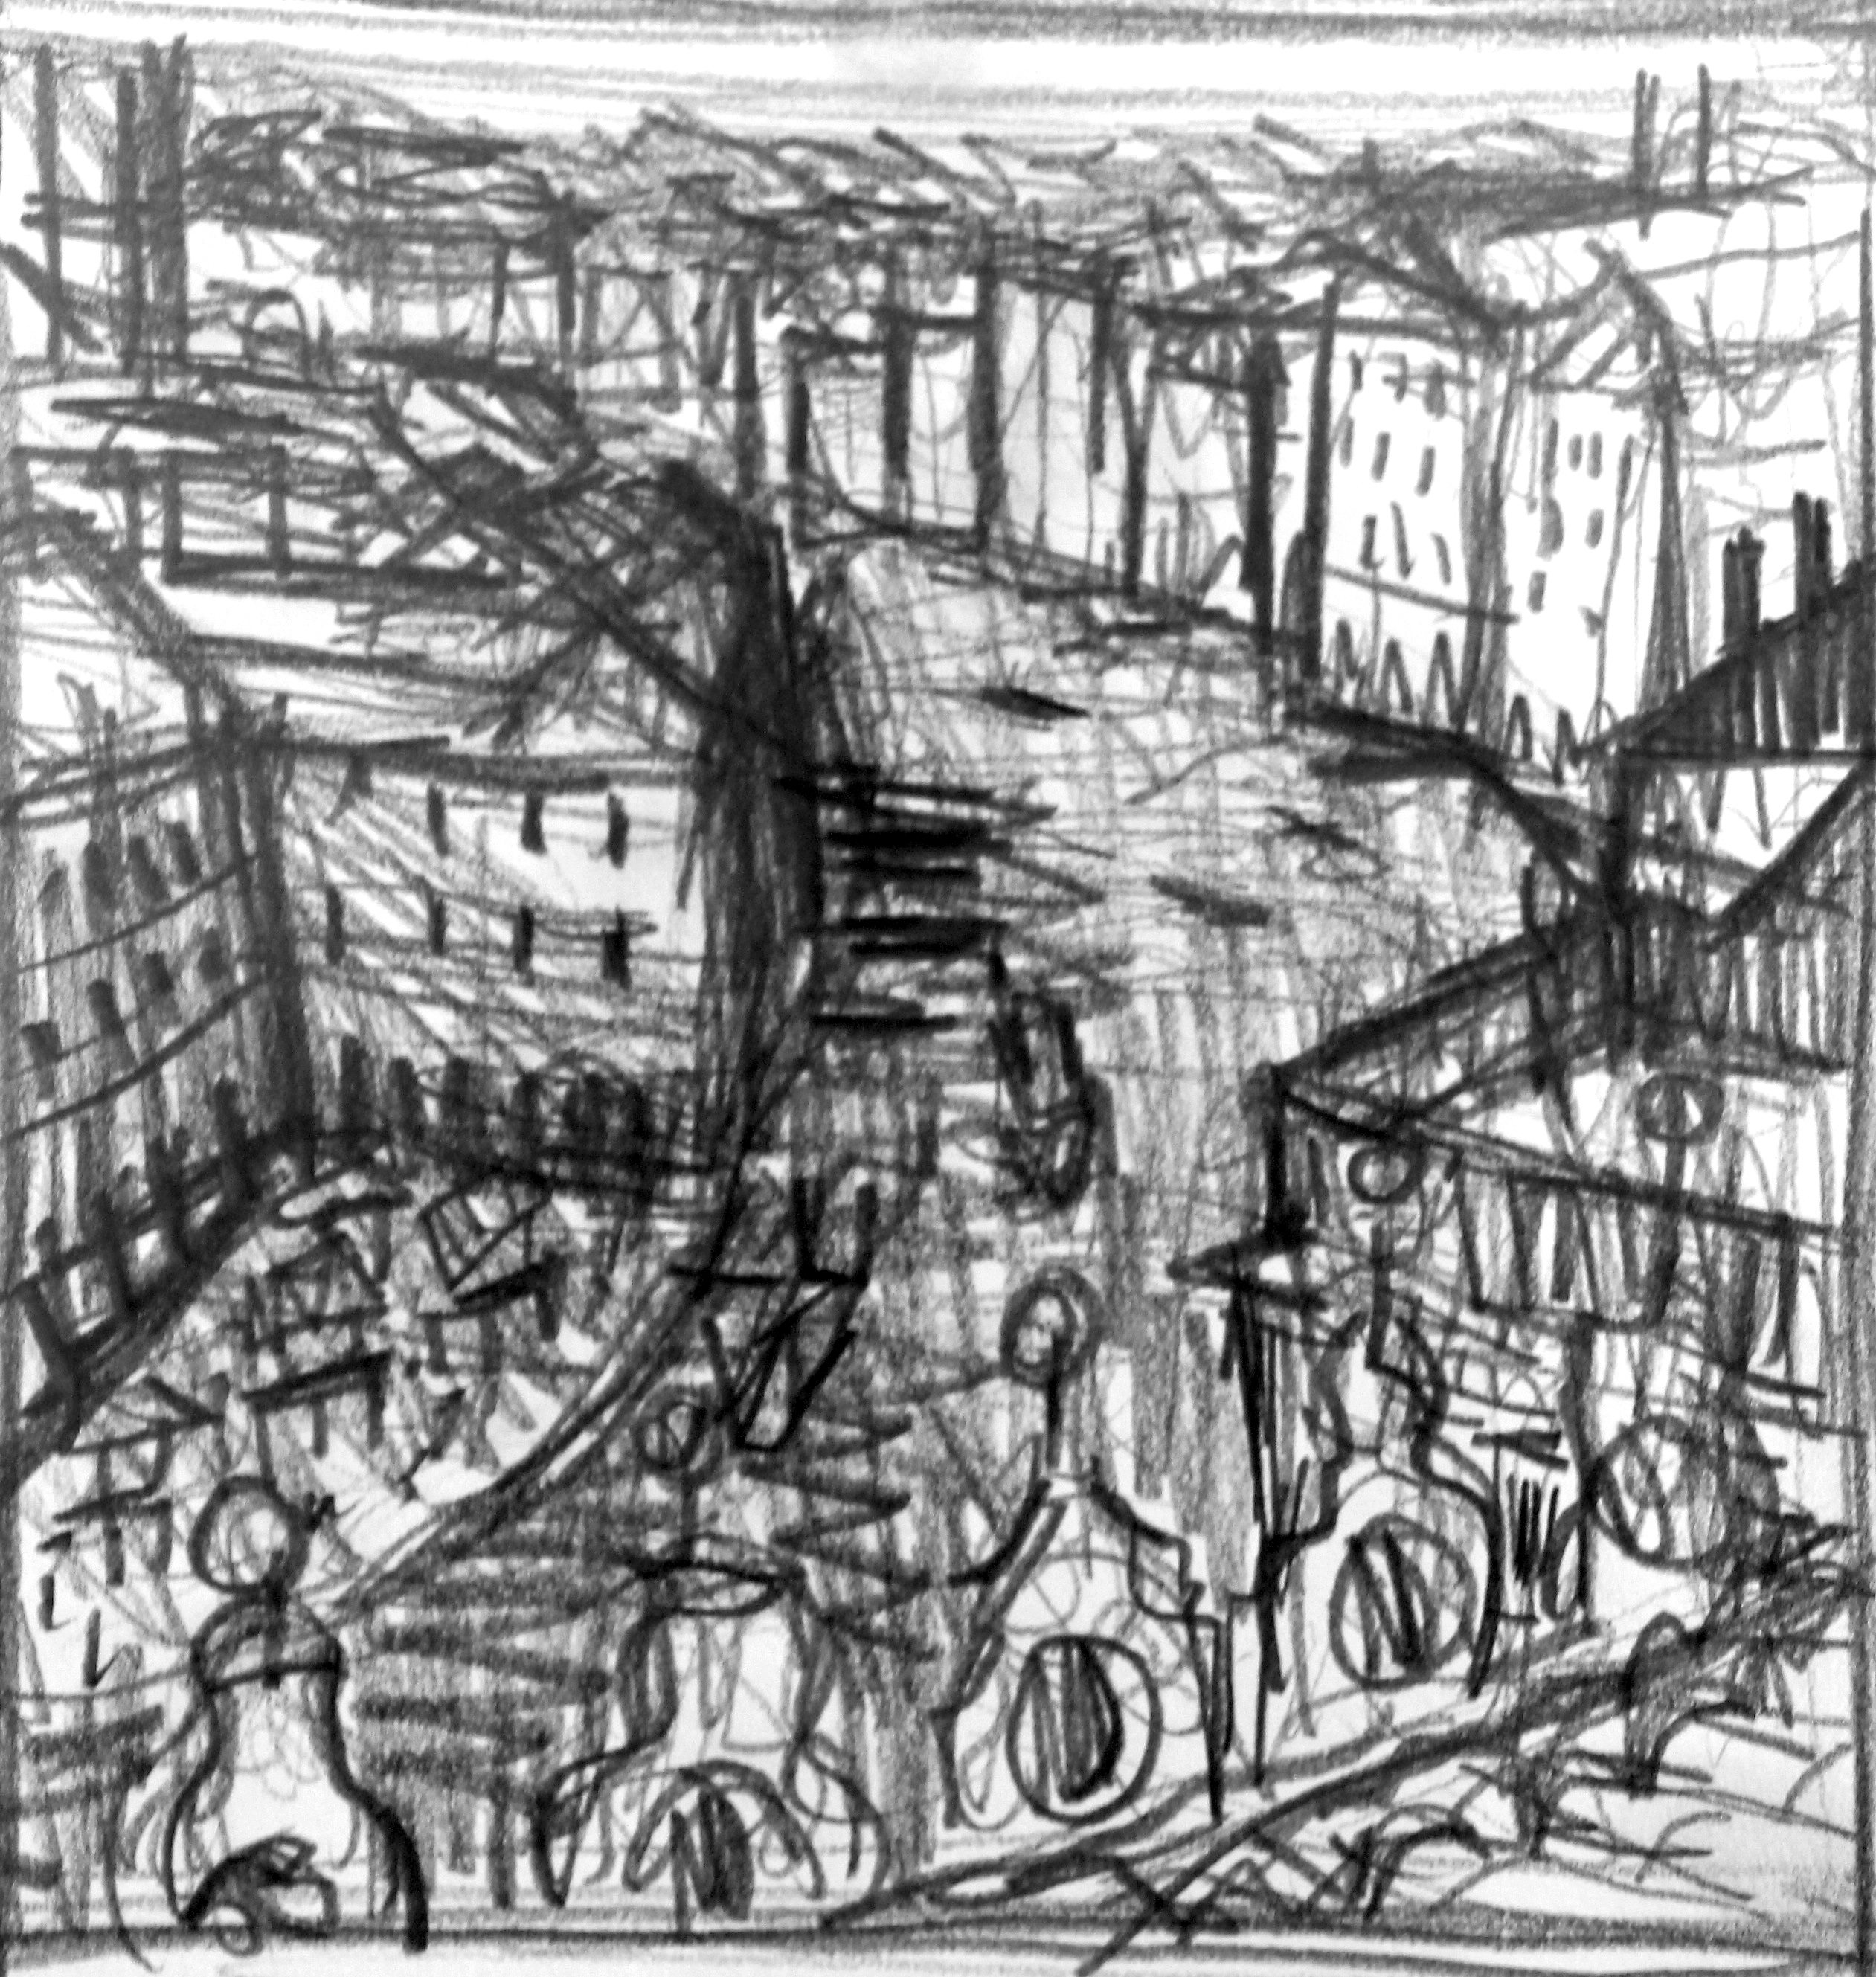
02. Choose your image
(Image: © Adrian Sykes)
This tutorial is based on a basic sketch completed in Venice. This is a rooftop scene, which gives us the chance to play with scale. Here, we're painting from memory, which has the advantage of freeing up the mark making and not having to be too precise, enabling the imagination to take over.
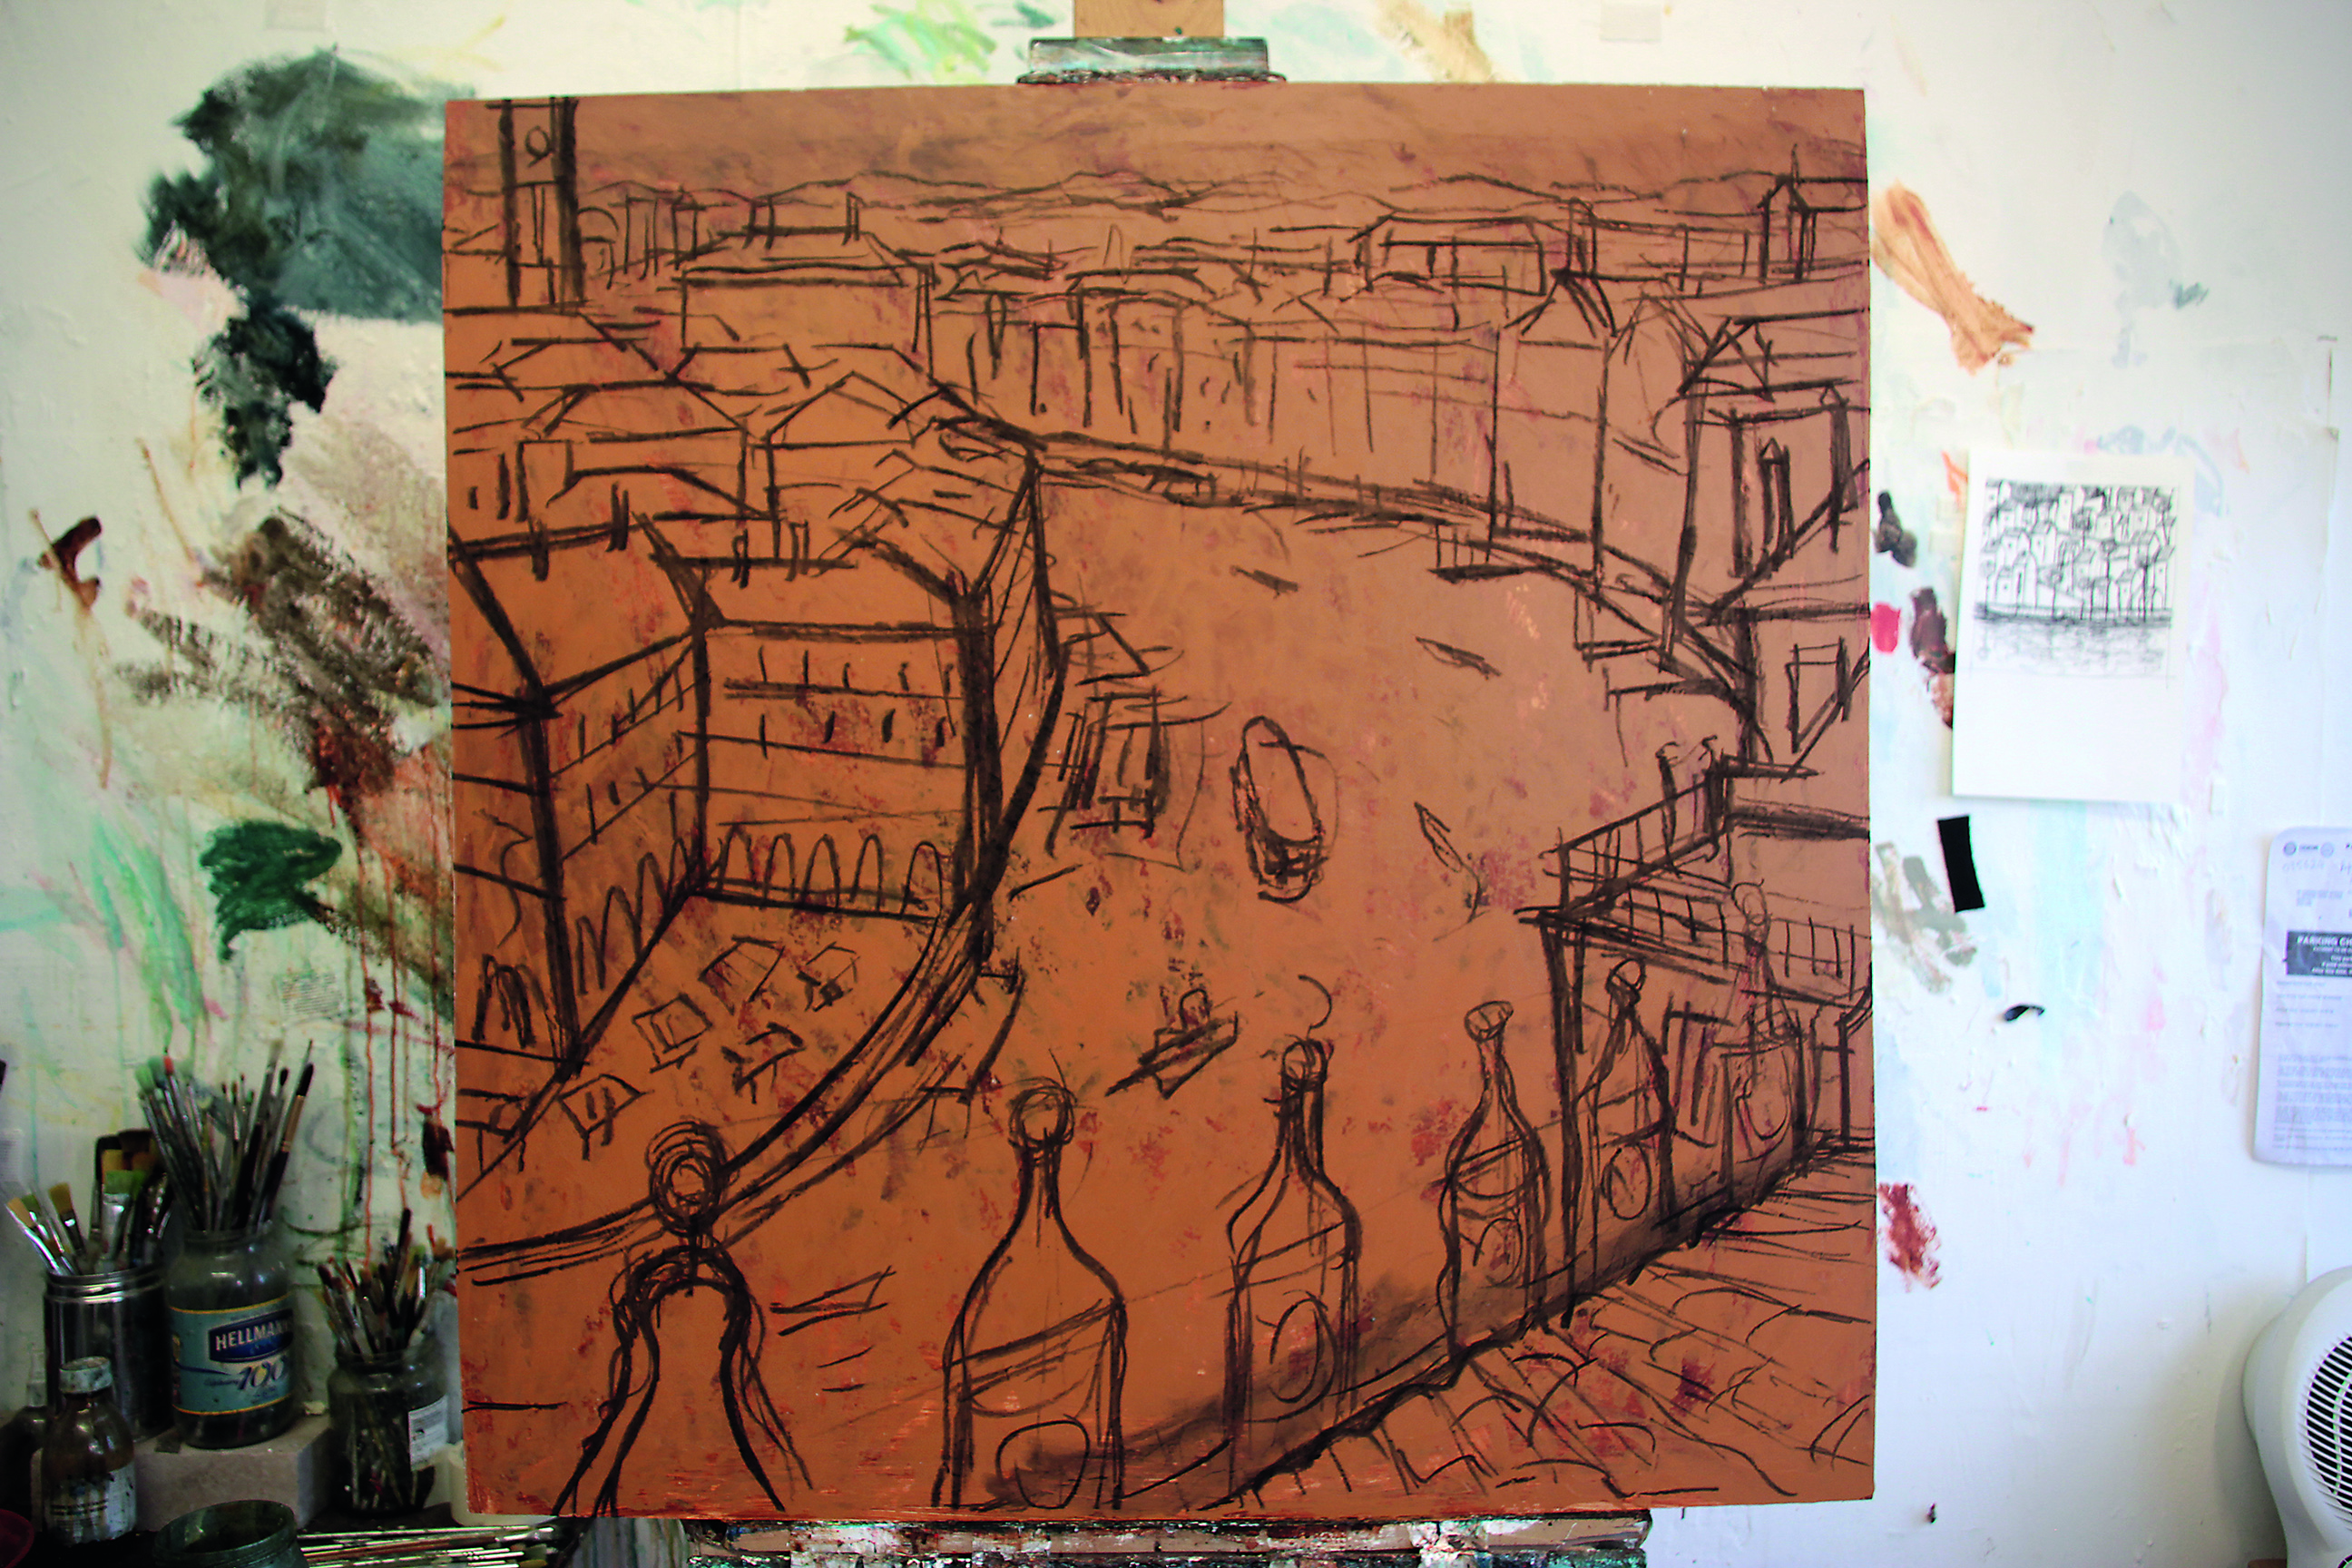
03. Create an initial sketch
(Image: © Adrian Sykes)
Charcoal is used to sketch the image, because it's versatile and quite painterly to use. Don't worry too much about making mistakes – just plot out the basic contours first and then apply a little detail once the main shape of the drawing is in place. You can always rub out with a cloth or your hand.
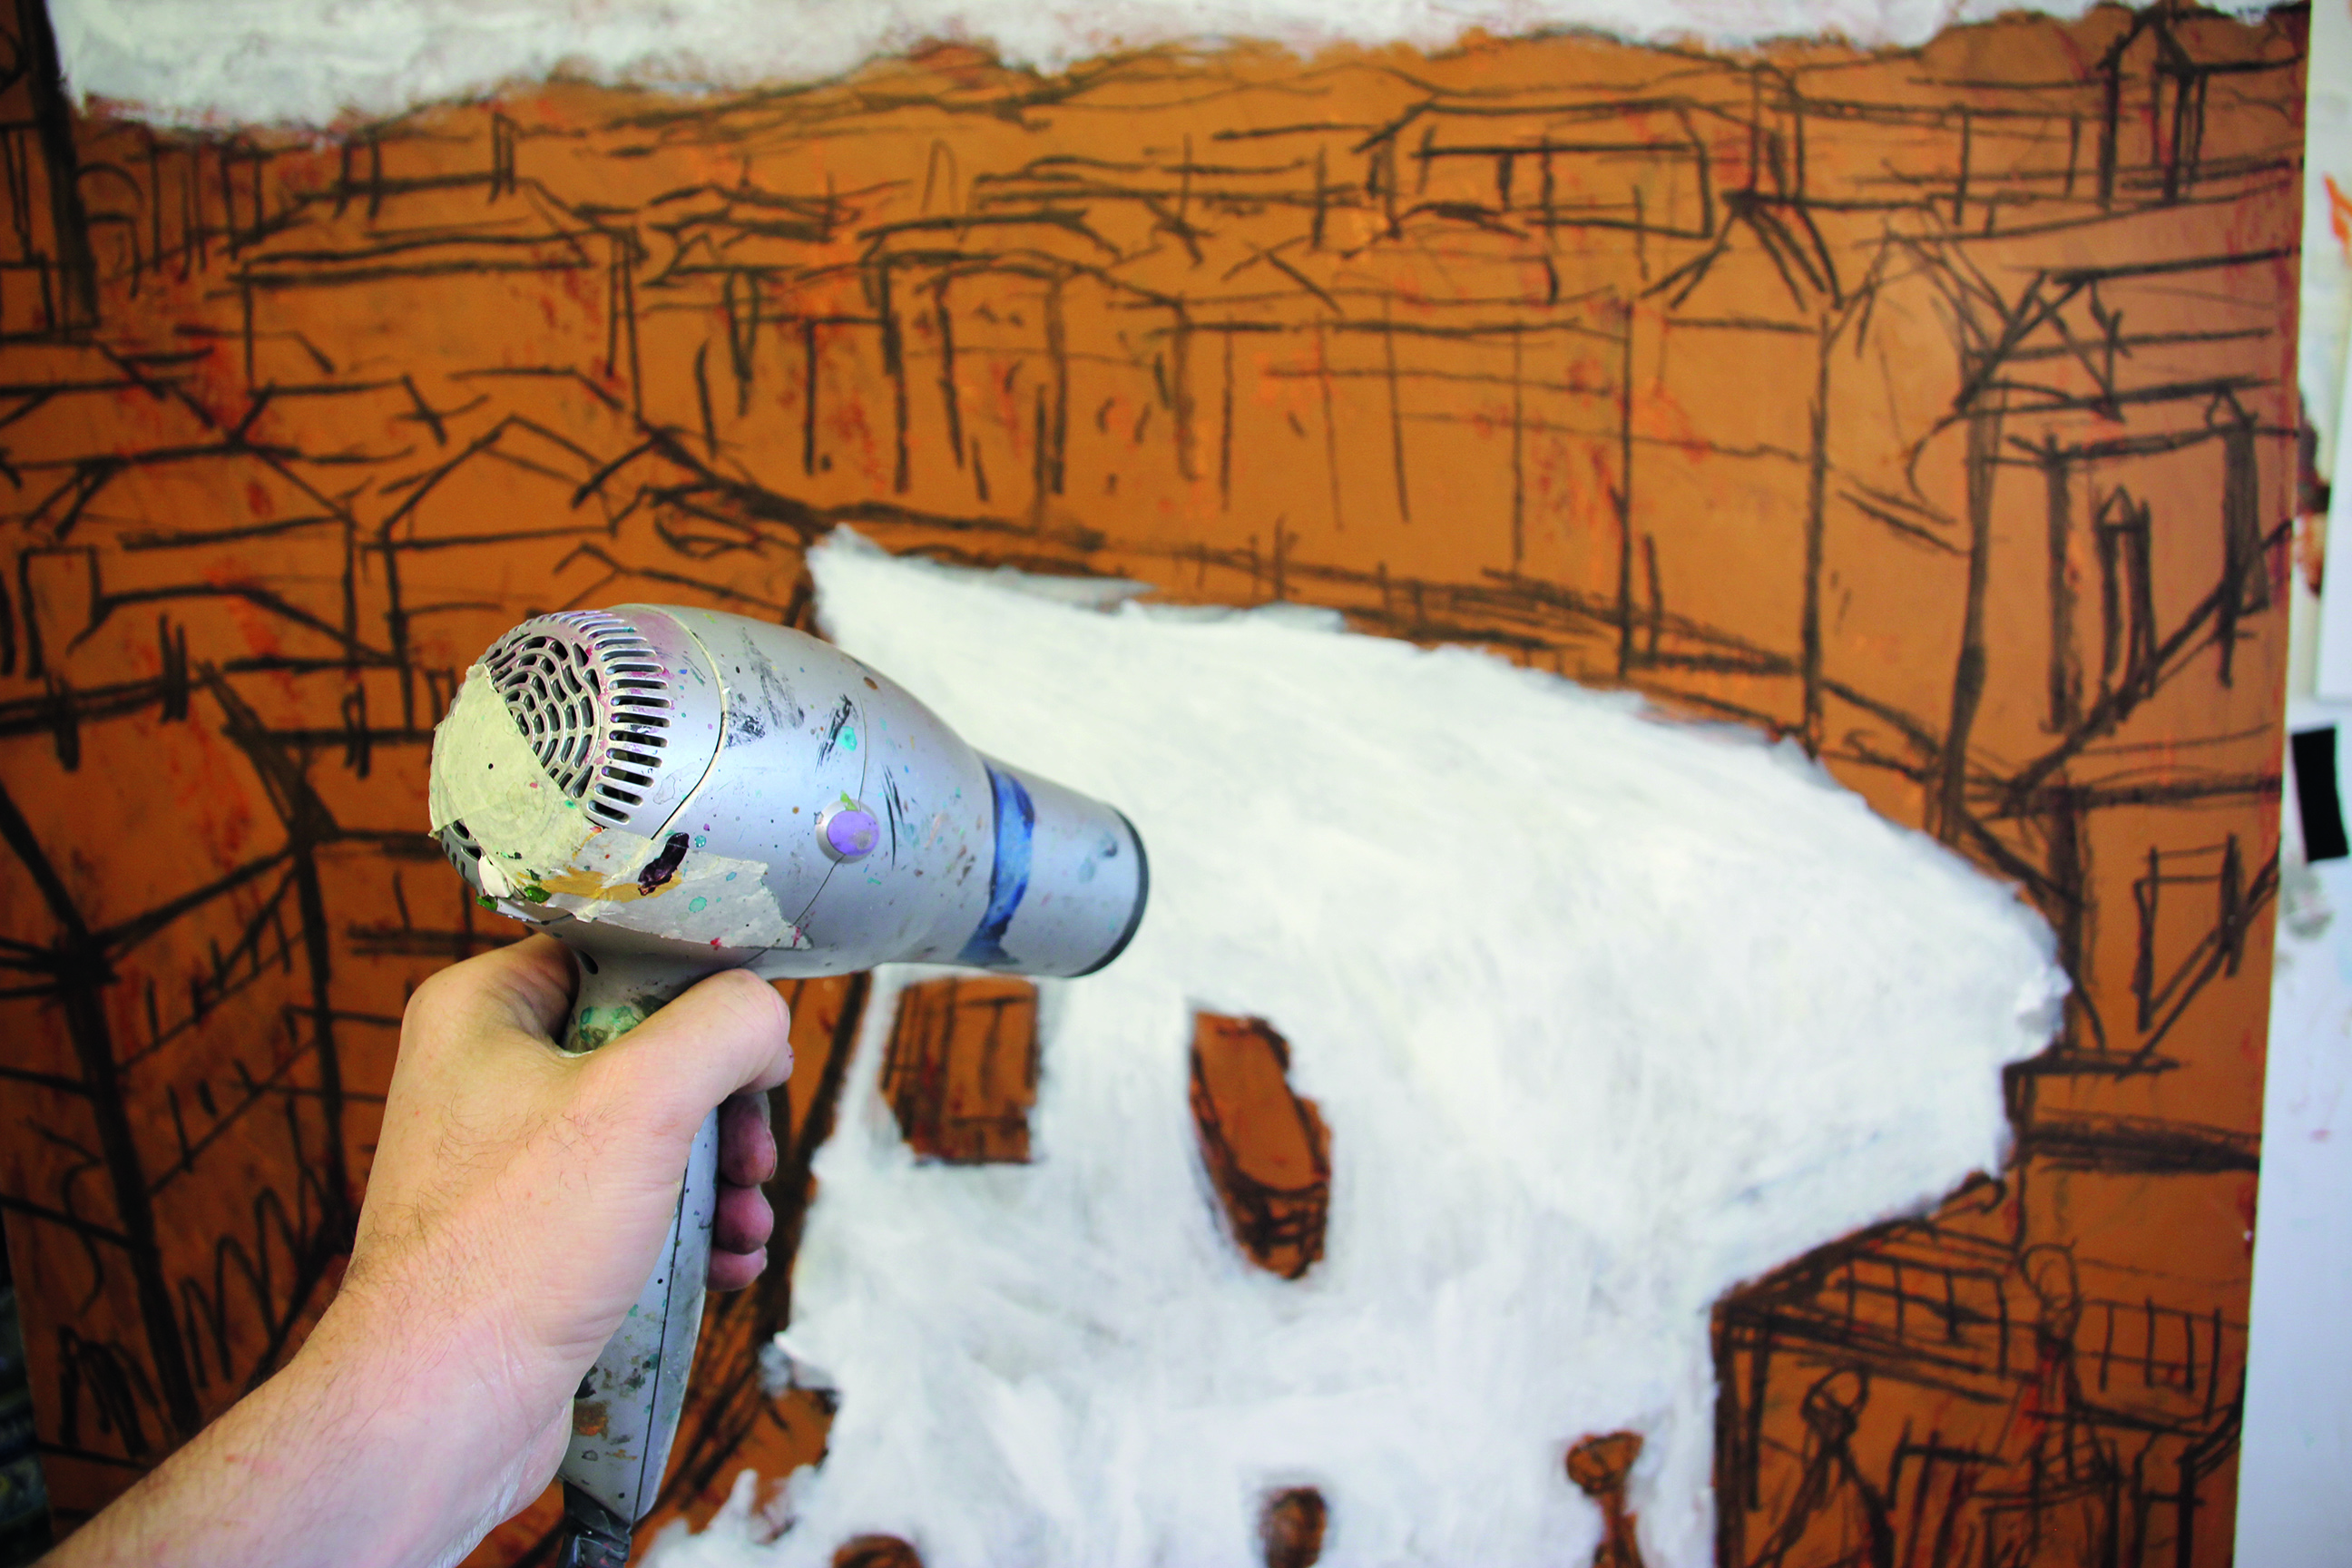
04. Start painting
(Image: © Adrian Sykes)
Working loosely and freely, the colours should be blocked in using acrylics and build up a vibrant impression. Lighter tones are then added on top using a dry brush technique to expose the surface underneath and further create interest. A flat is used during this stage, which is ideal for buildings and enables you to develop a great range of marks. It's useful to have a hairdryer to hand if you want to dry the paint quicker!
05. Be bold

(Image: © Adrian Sykes)
We're aiming for a vibrant, textured impression, so don't worry about detail at this stage. The lines will be refined when it comes to glazing. Working light to dark, be bold with your colours. The refinement and muting will come later, but at this stage it is good to have the option to scrape back later.
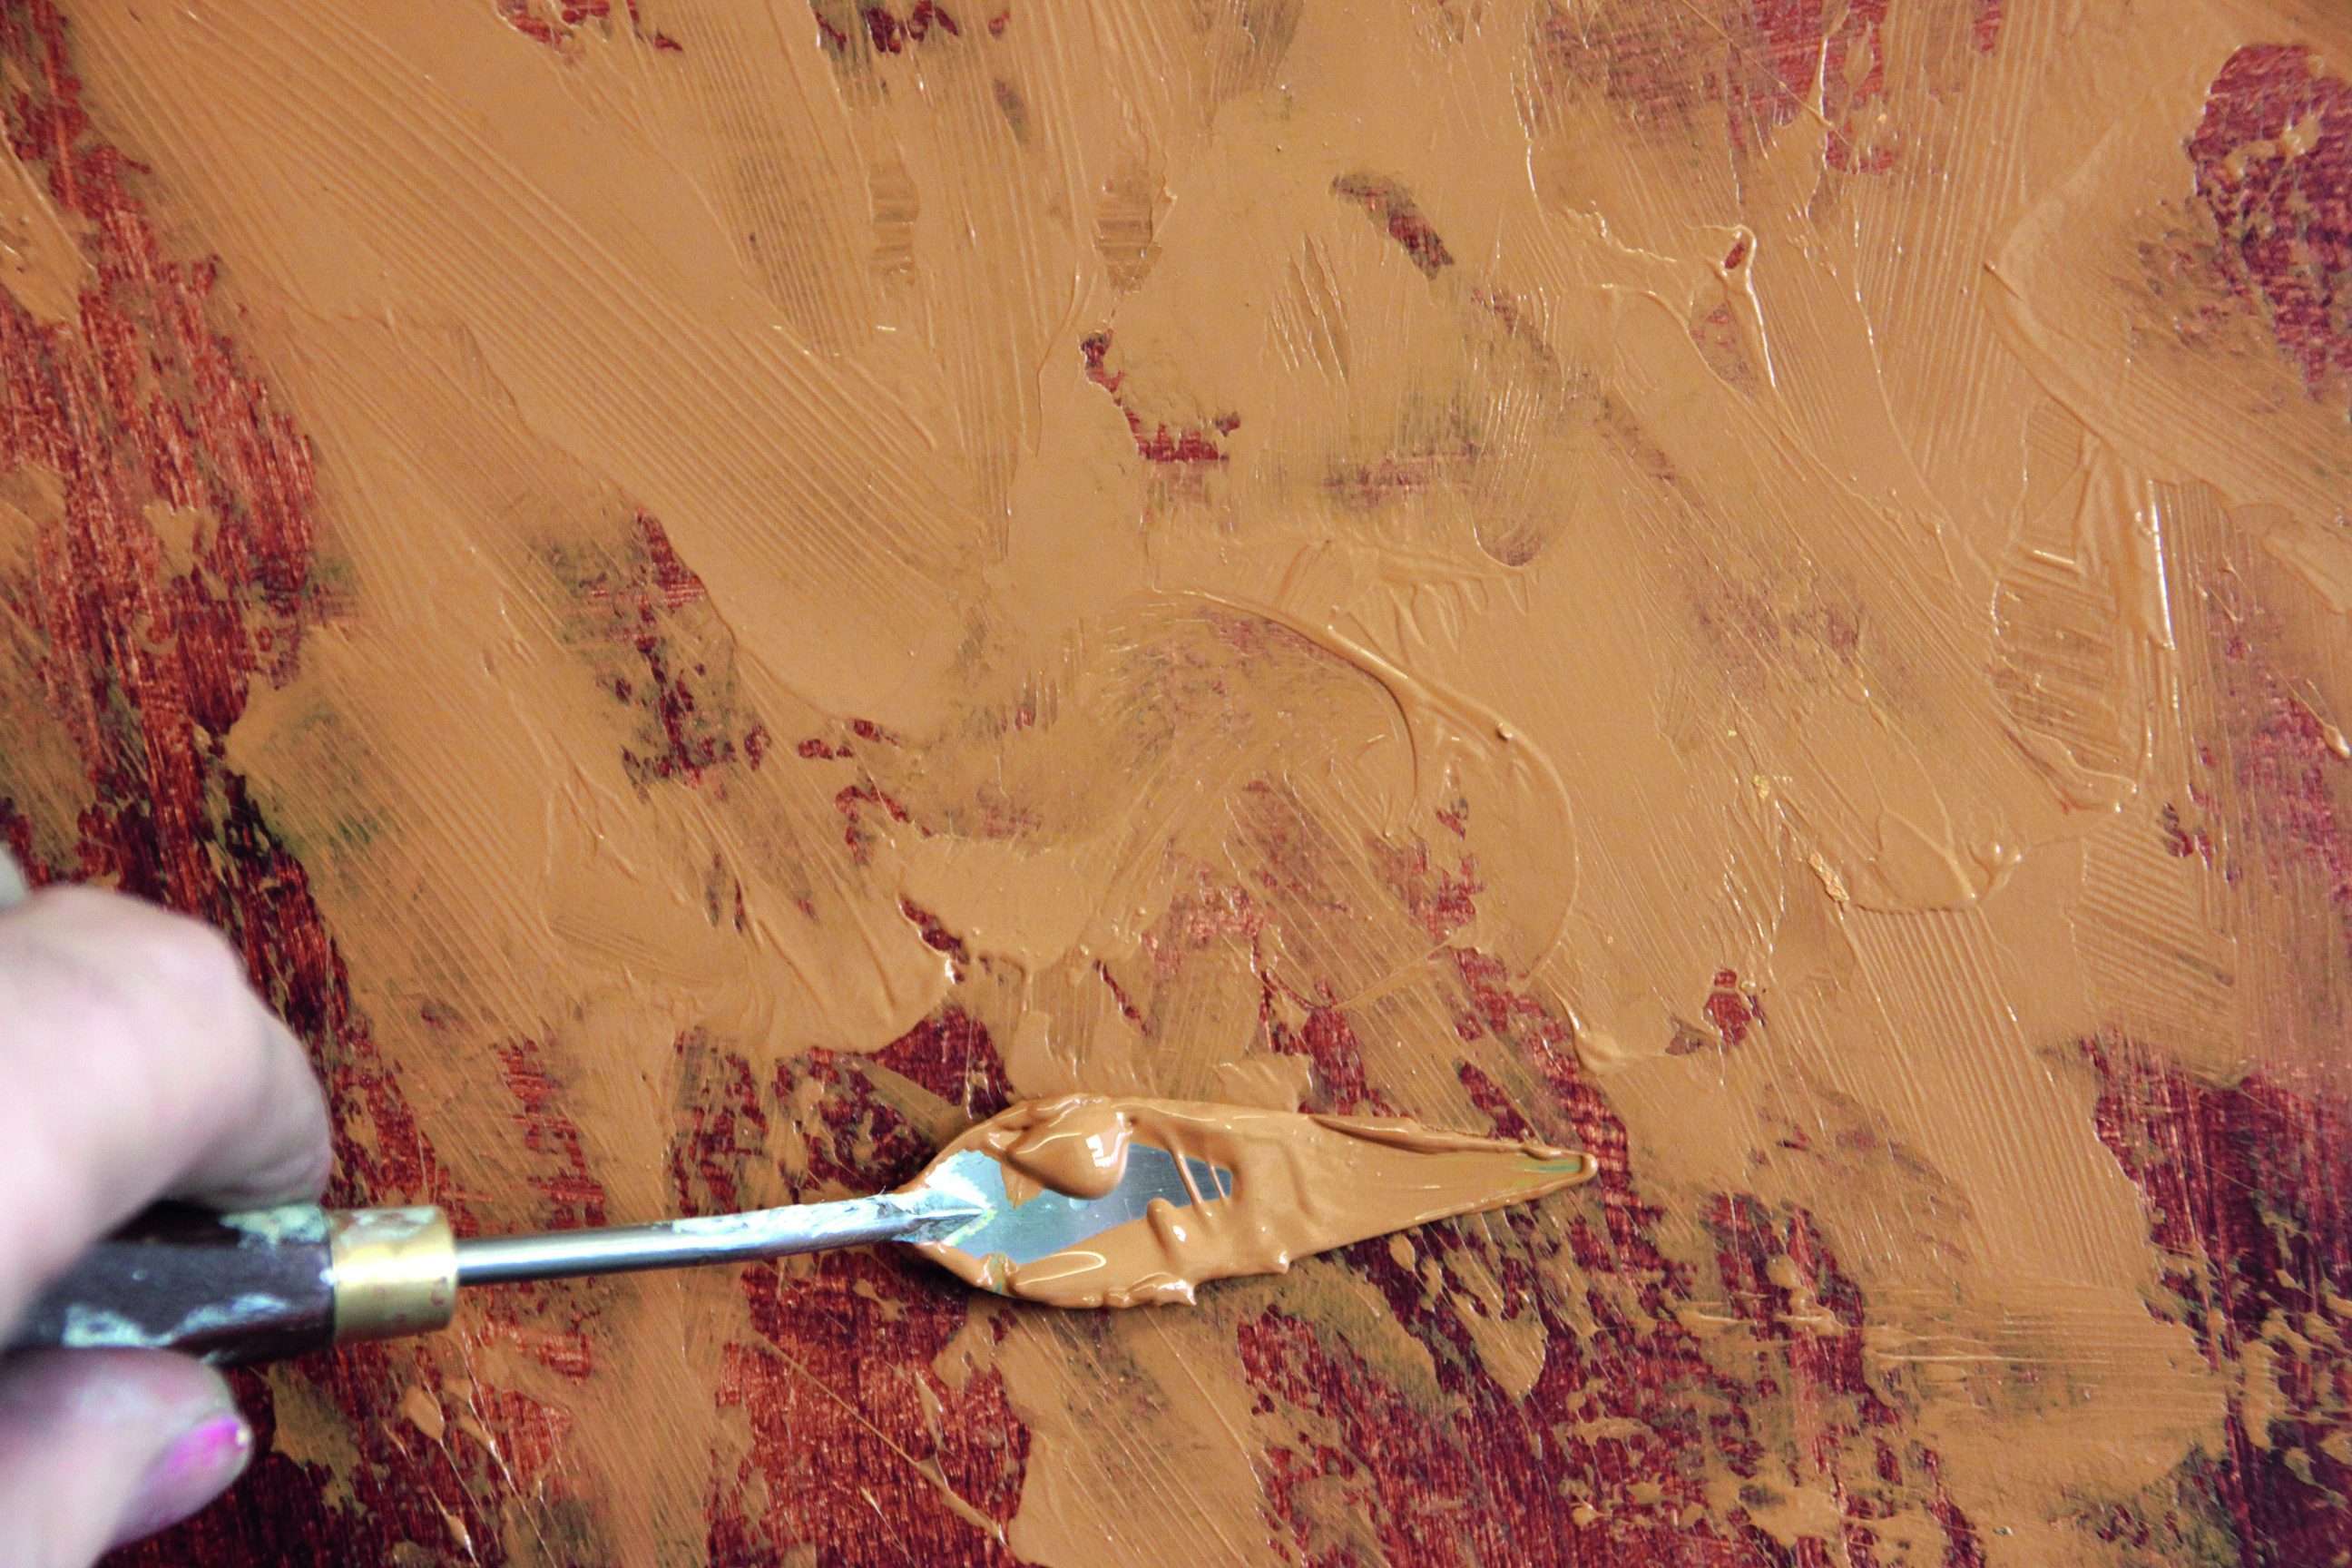
06. Use a palette knife to create happy accidents

(Image: © Adrian Sykes)
Add further interest with a palette knife by scraping onto the painted surface. Try using some different colours from your normal choices – this can create an interesting effect when combined with the glazing at a later stage in the painting process. Remember, you're aiming for a vibrant impression so let your imagination take over. At this stage in the painting you don't need to be too careful.
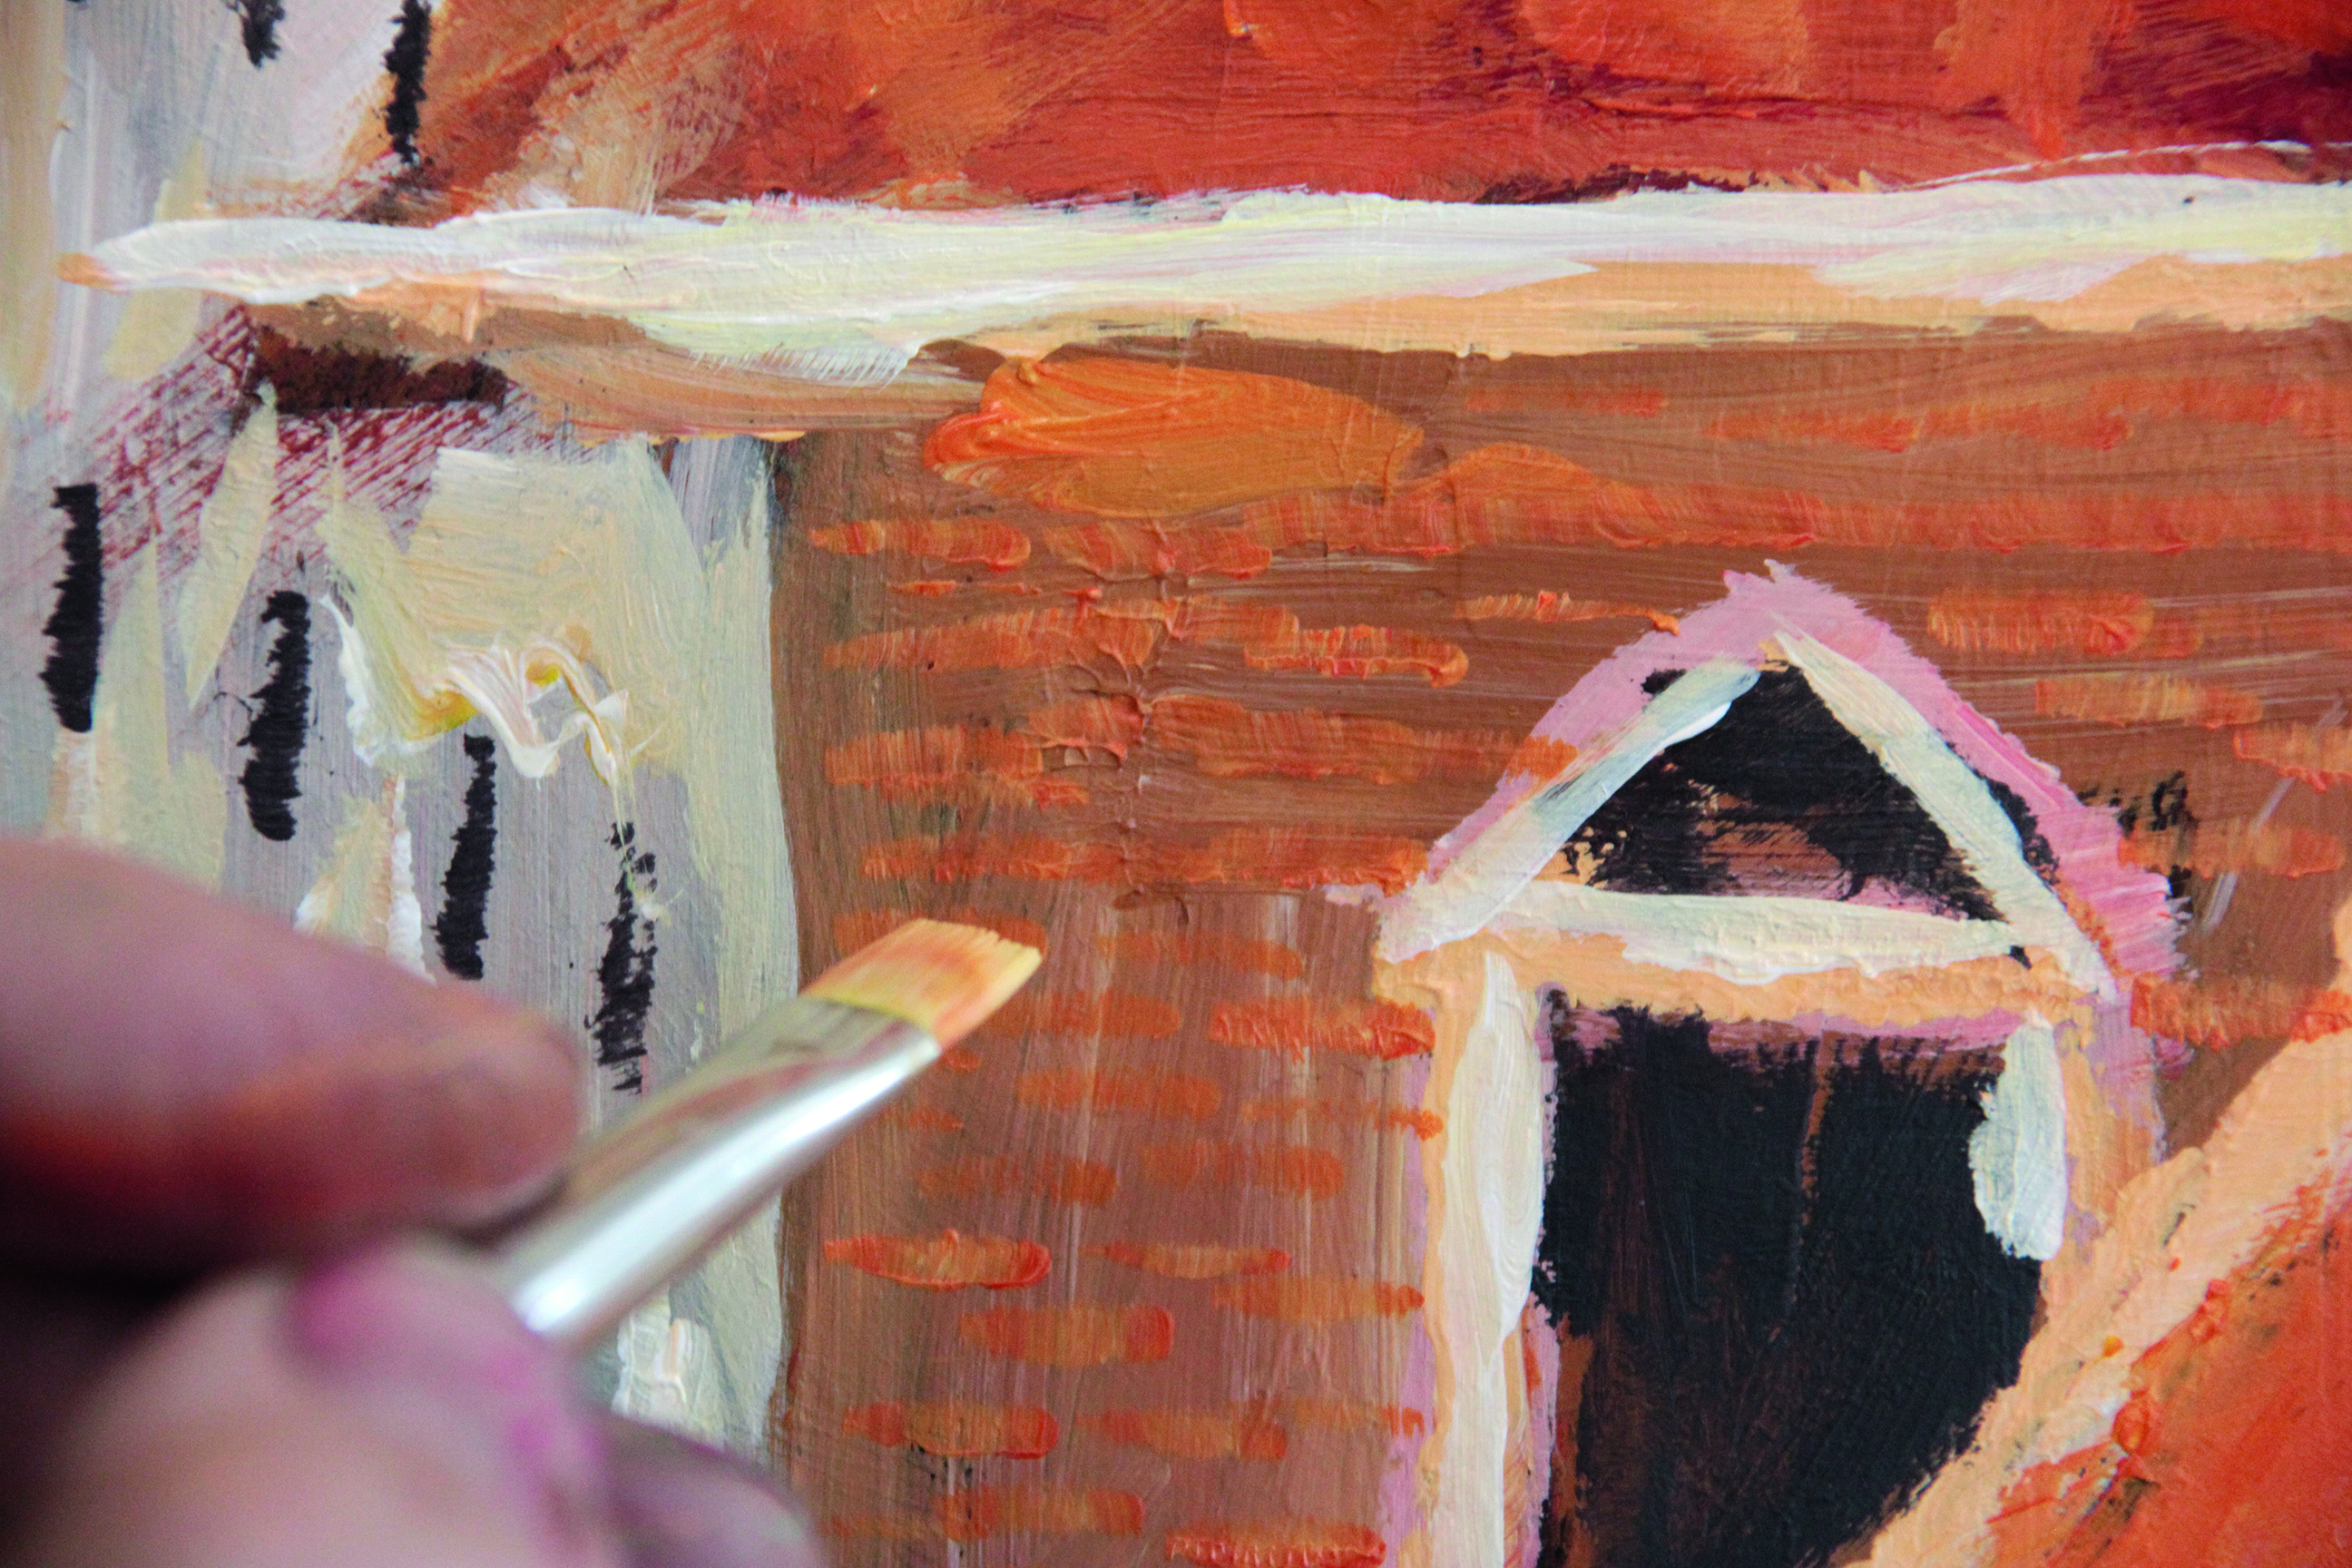
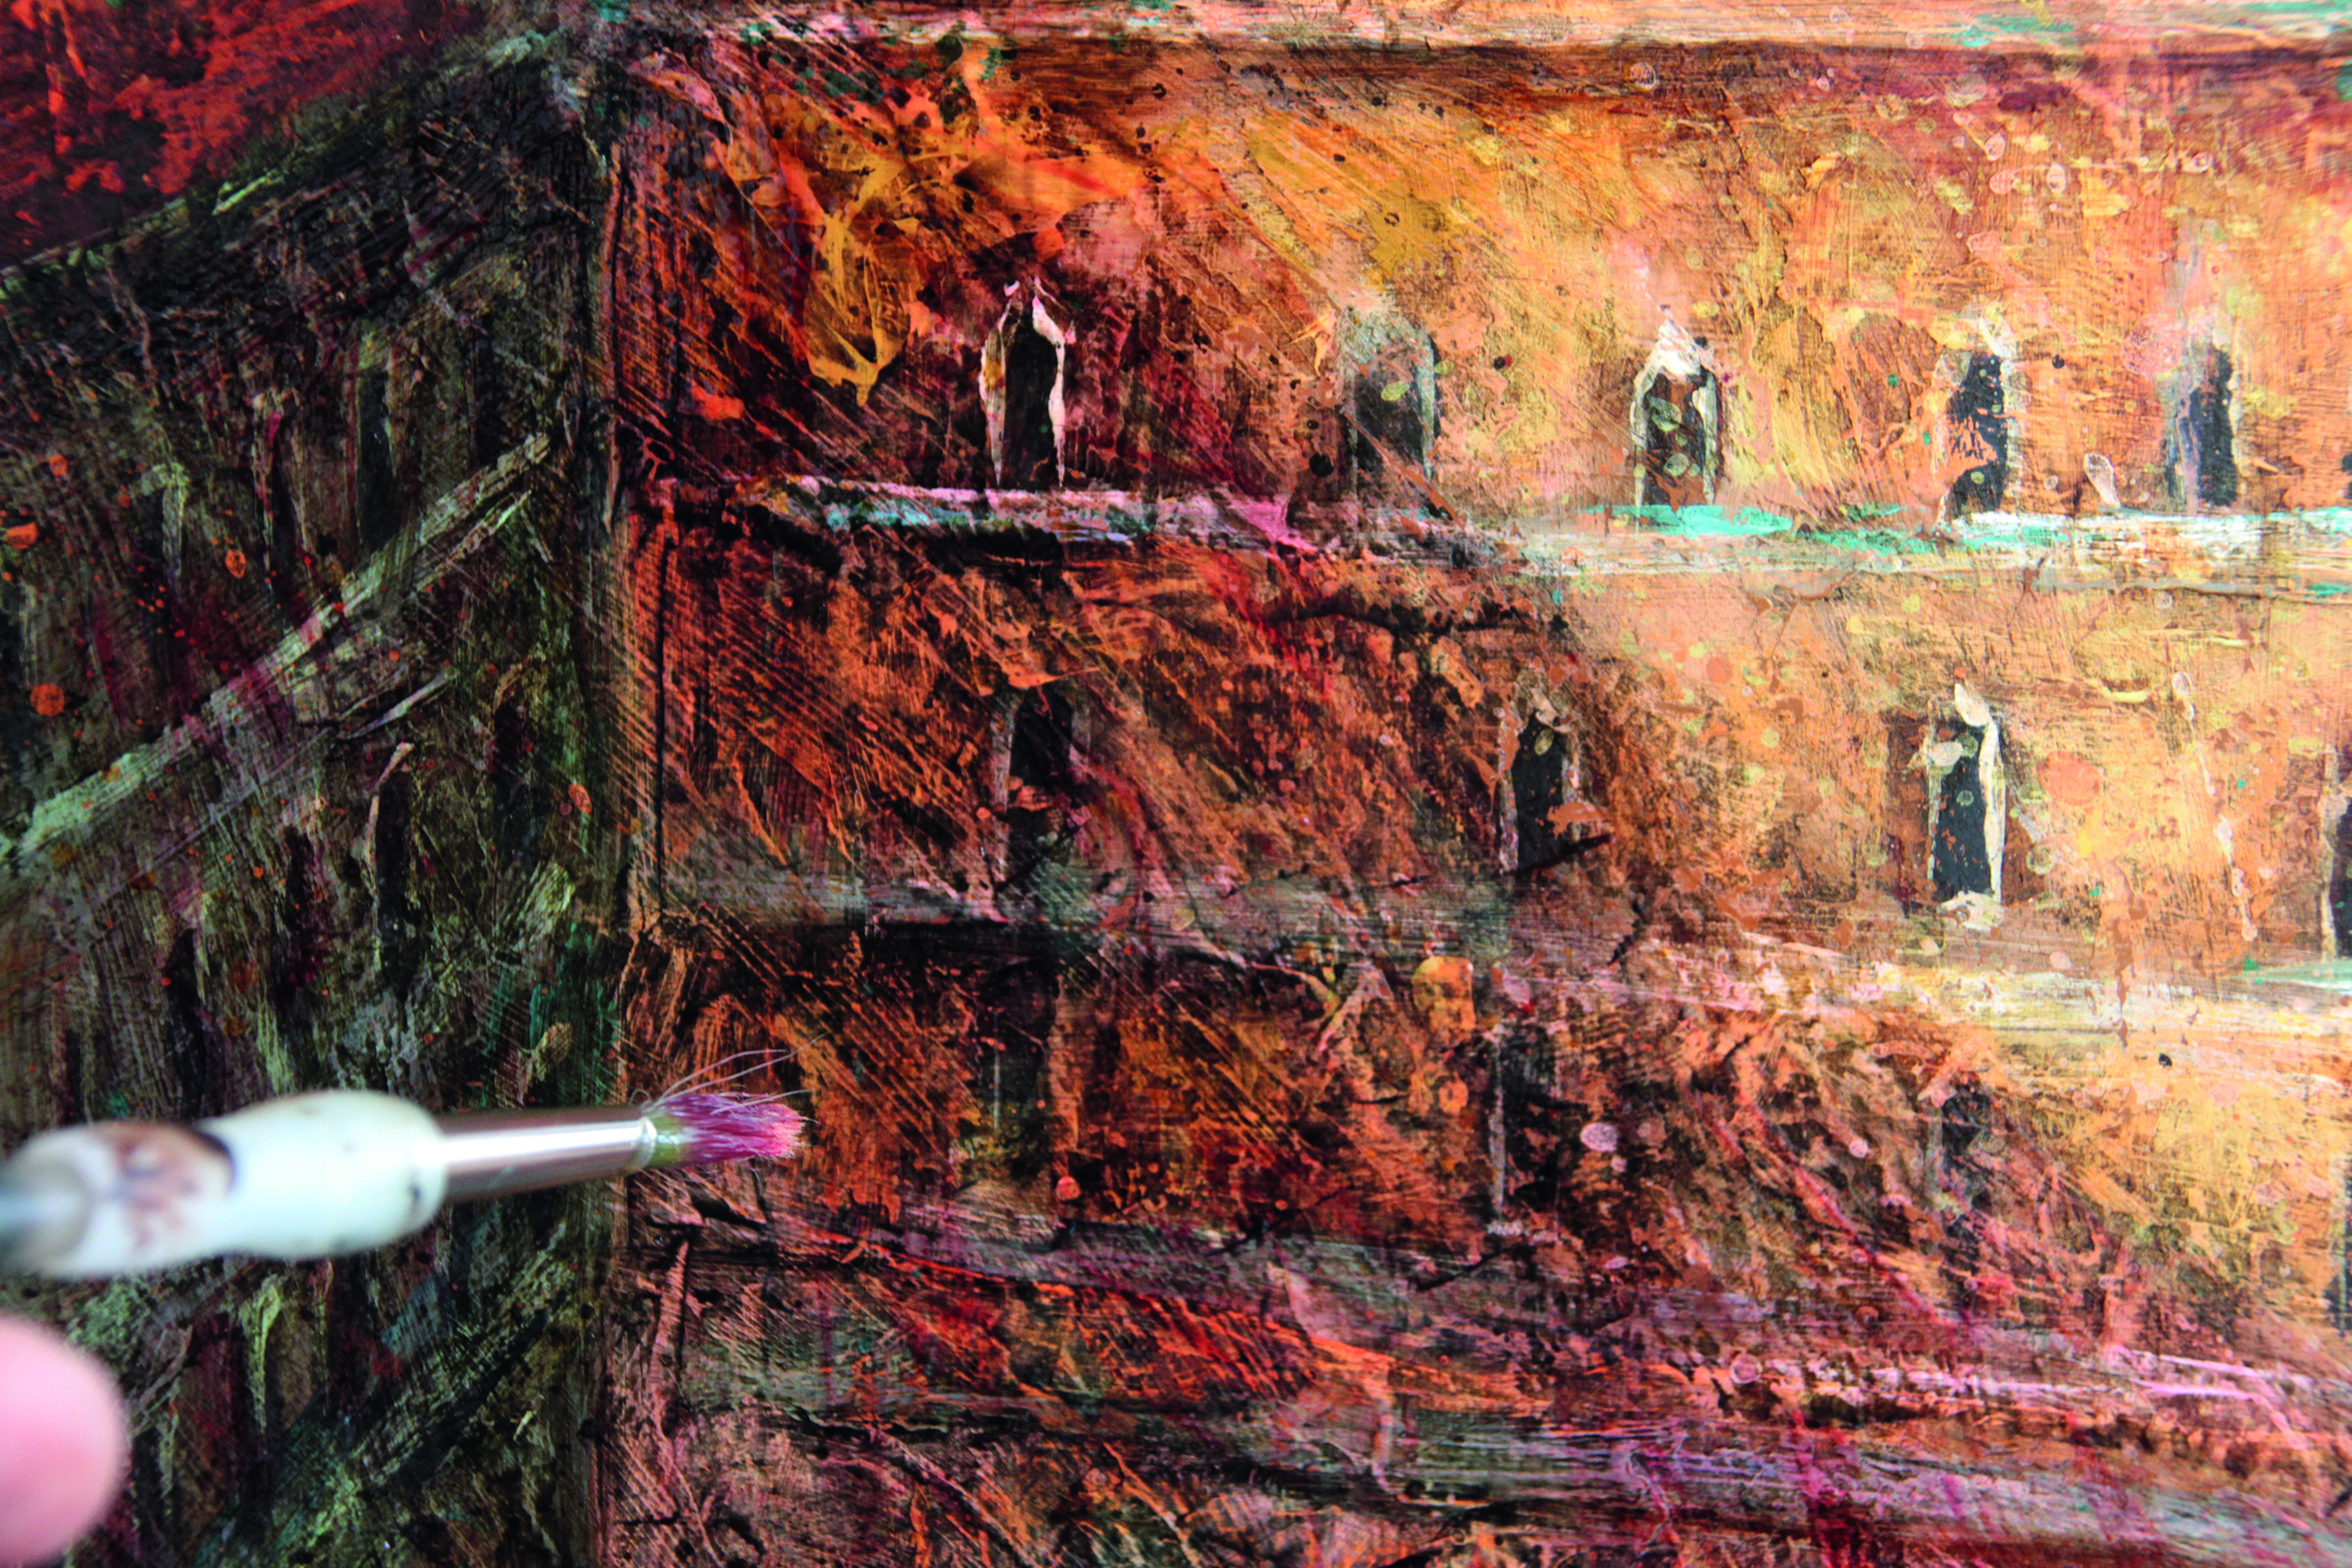
07. Apply first-stage detail
(Image: © Adrian Sykes)
We call this 'first-stage' detail because things are still nice and loose, but we're adding a little more interest without being too precise. Try using a small flat for the edges of buildings and then use a rigger to sketch in the windows and details.
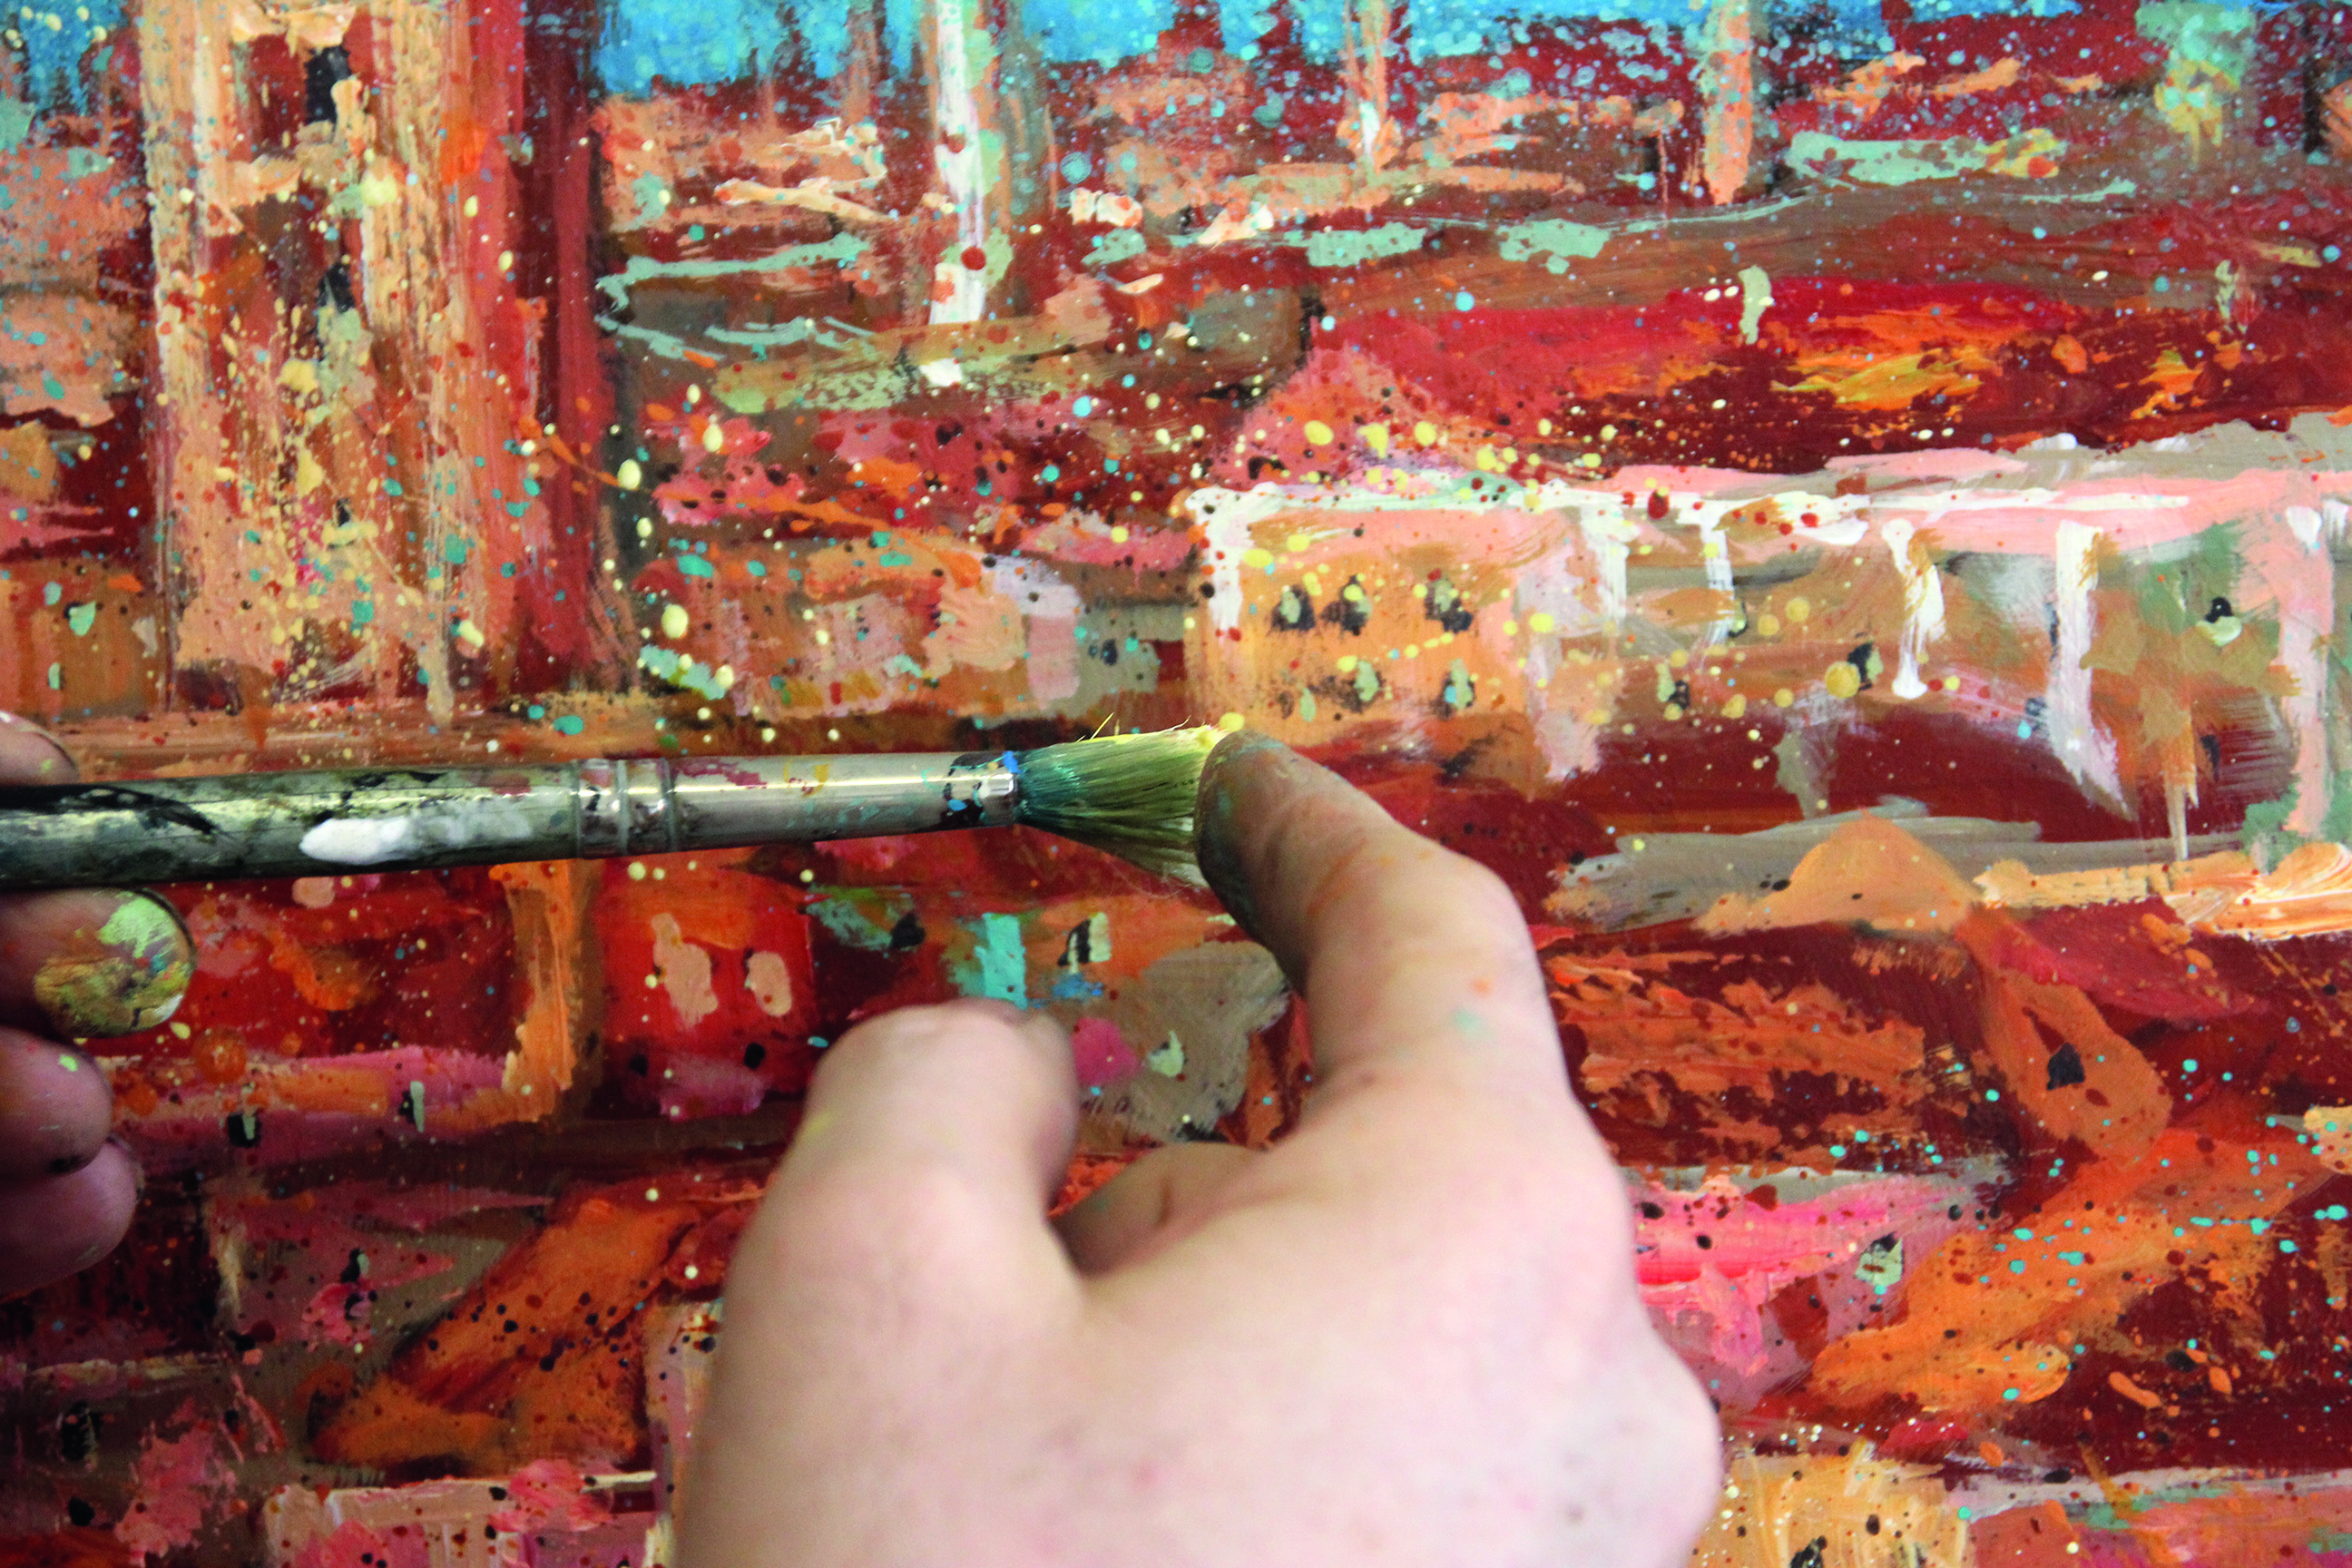
08. Break up the contours
(Image: © Adrian Sykes)
Use an old stiff brush to create another layer of interest by flicking watered-down acrylic paint on top. This adds colour and stops the lines being too harsh. It can also be used to tone down some of the areas without applying a glaze. Here, it is used to make the mountainous background recede.
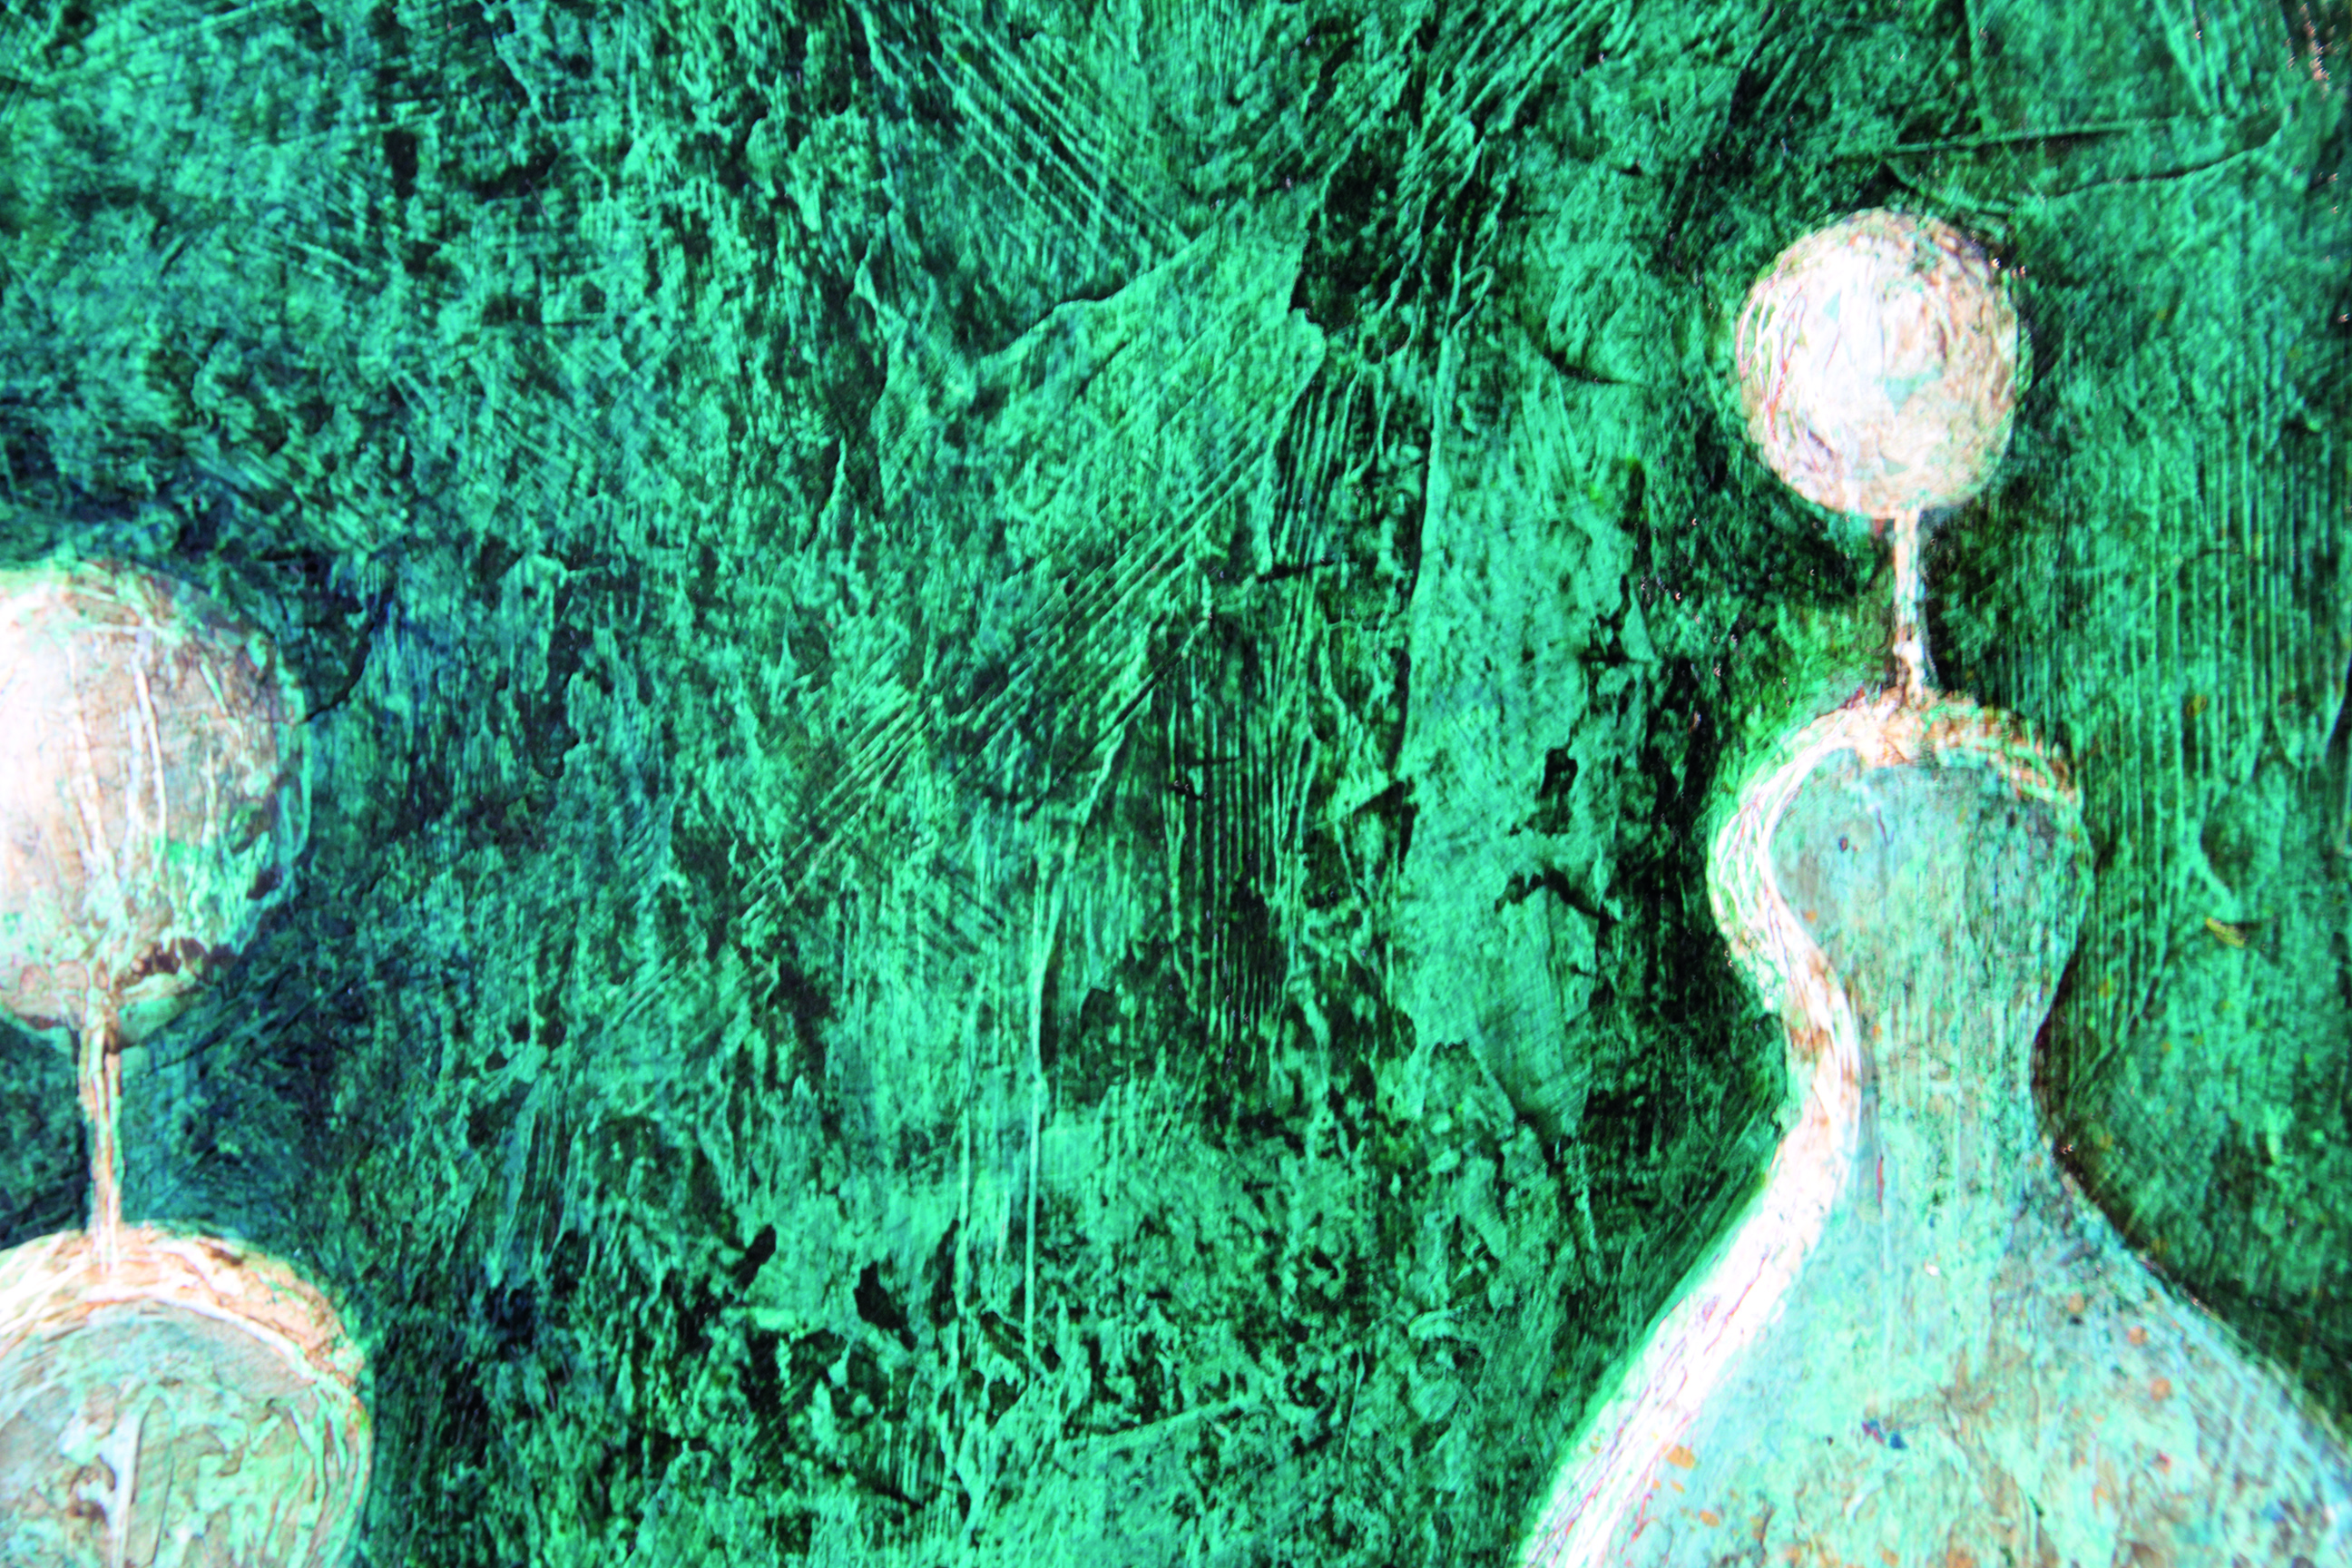
09. Add depth with glazing

(Image: © Adrian Sykes)
At this stage the acrylic underpainting is finished. We now apply a variety of glazes using Winsor & Newton Liquin Original to speed up the drying time and also add a deeper, wet look to the painting. Apply a dark oil glaze to the entire painting, mixing Burnt Umber and Prussian Blue. Don't worry about going too dark at this stage because most of it will be scraped off. The point of this initial glaze is to expose the texture underneath.
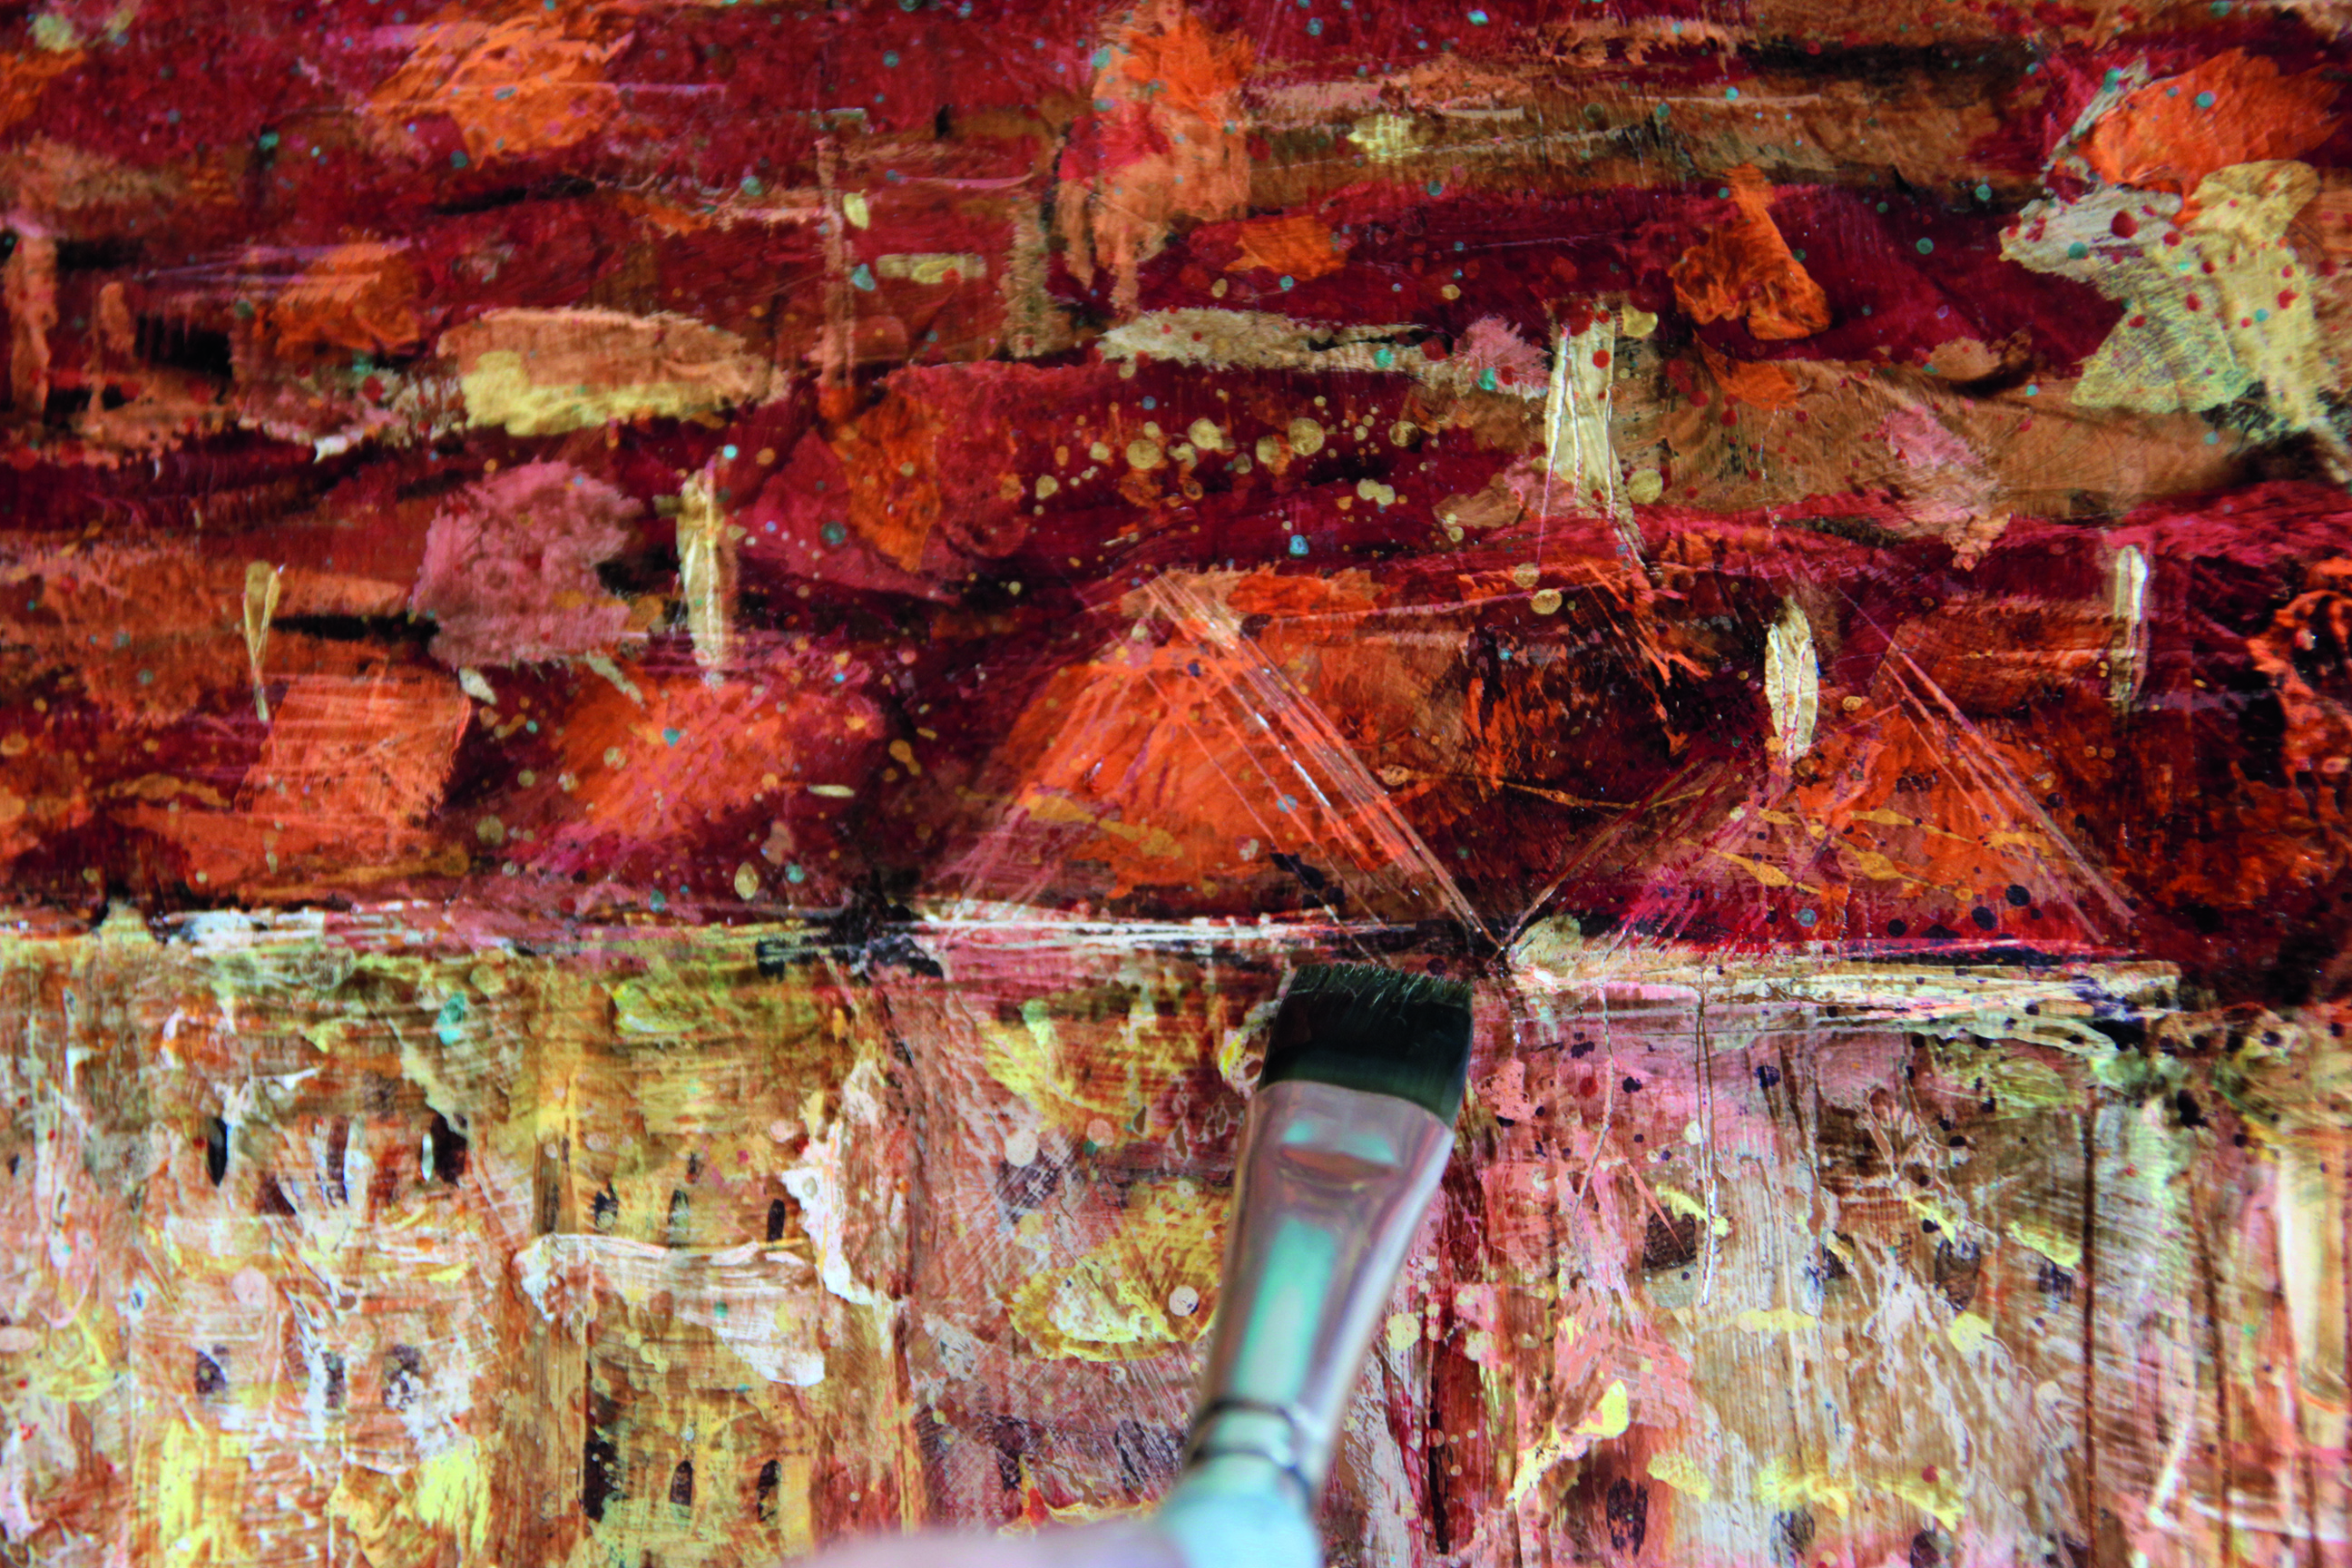
10. Let the texture work for you
(Image: © Adrian Sykes)
When scraping off with a palette knife you can enjoy the wide variety of unpredicatable marks that you're now creating. Enhance this effect further by carefully taking a fresh Stanley knife blade, which will take more off than the knife. Remember that the aim of this stage is to balance creating new marks, while still exposing the painting underneath.
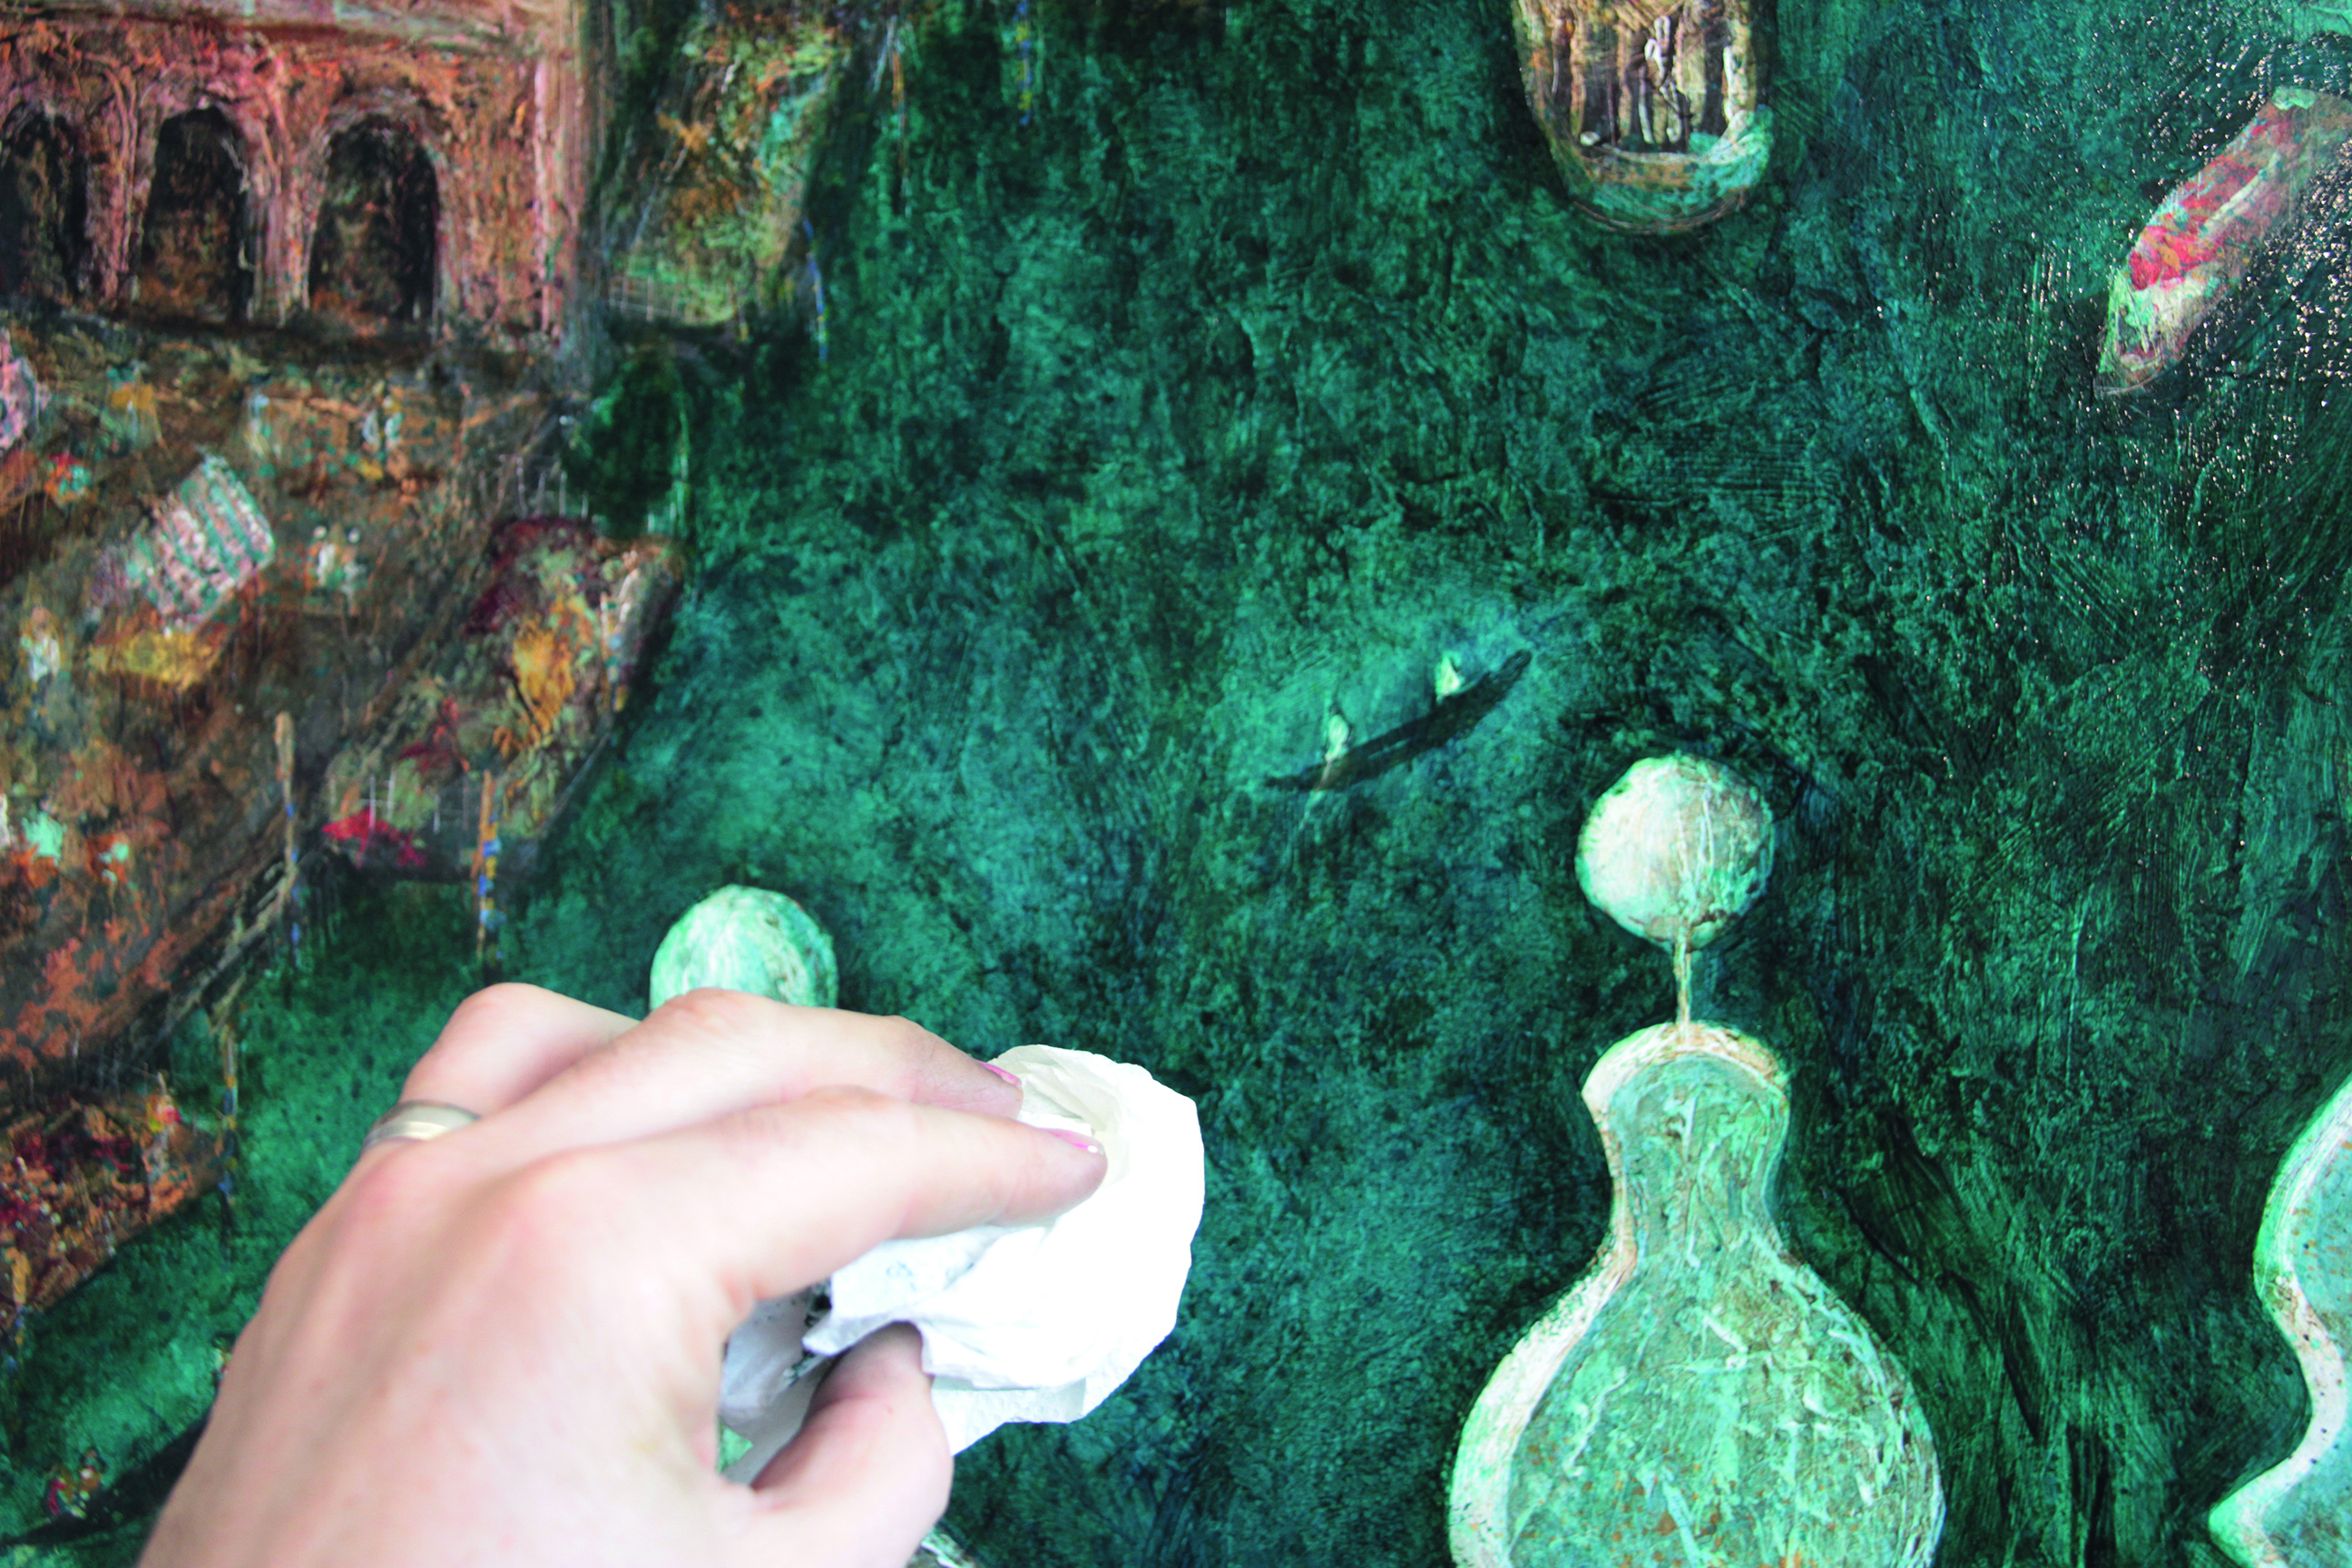
11. Build up layers and depth
(Image: © Adrian Sykes)
Allow the scraped back glaze to completely dry before working into it any further, because this will ensure that the surface and the interest will be retained. The painting at this stage is engaging but a little flat, so now we start to refine the piece by adding further glazing and tonal values. The joy of working this way is that you can always take away if you go too heavy, either with a soft rag, kitchen roll or by applying a little clean turps and working into the surface with a stiff round brush.
12. Use colourful shadows
(Image: © Adrian Sykes)
By adding a coloured glaze to your shadows you can make use of borrowed light. Here we're adding a little Alizarin Crimson to give this shadow on the building a warmth where the dark glaze before it has made it too dull.
13. Use the glaze to refine your lines
(Image: © Adrian Sykes)
We need to tighten up some of the detail from the loose acrylic underpainting. Use a dark glaze mix of Burnt Umber to refine some of the edges and add weight to the darker shadow areas of buildings and rooftops. Remember to take frequent breaks from close-up work and stand back to look – this will highlight the areas that need detailed attention or making more subtle.
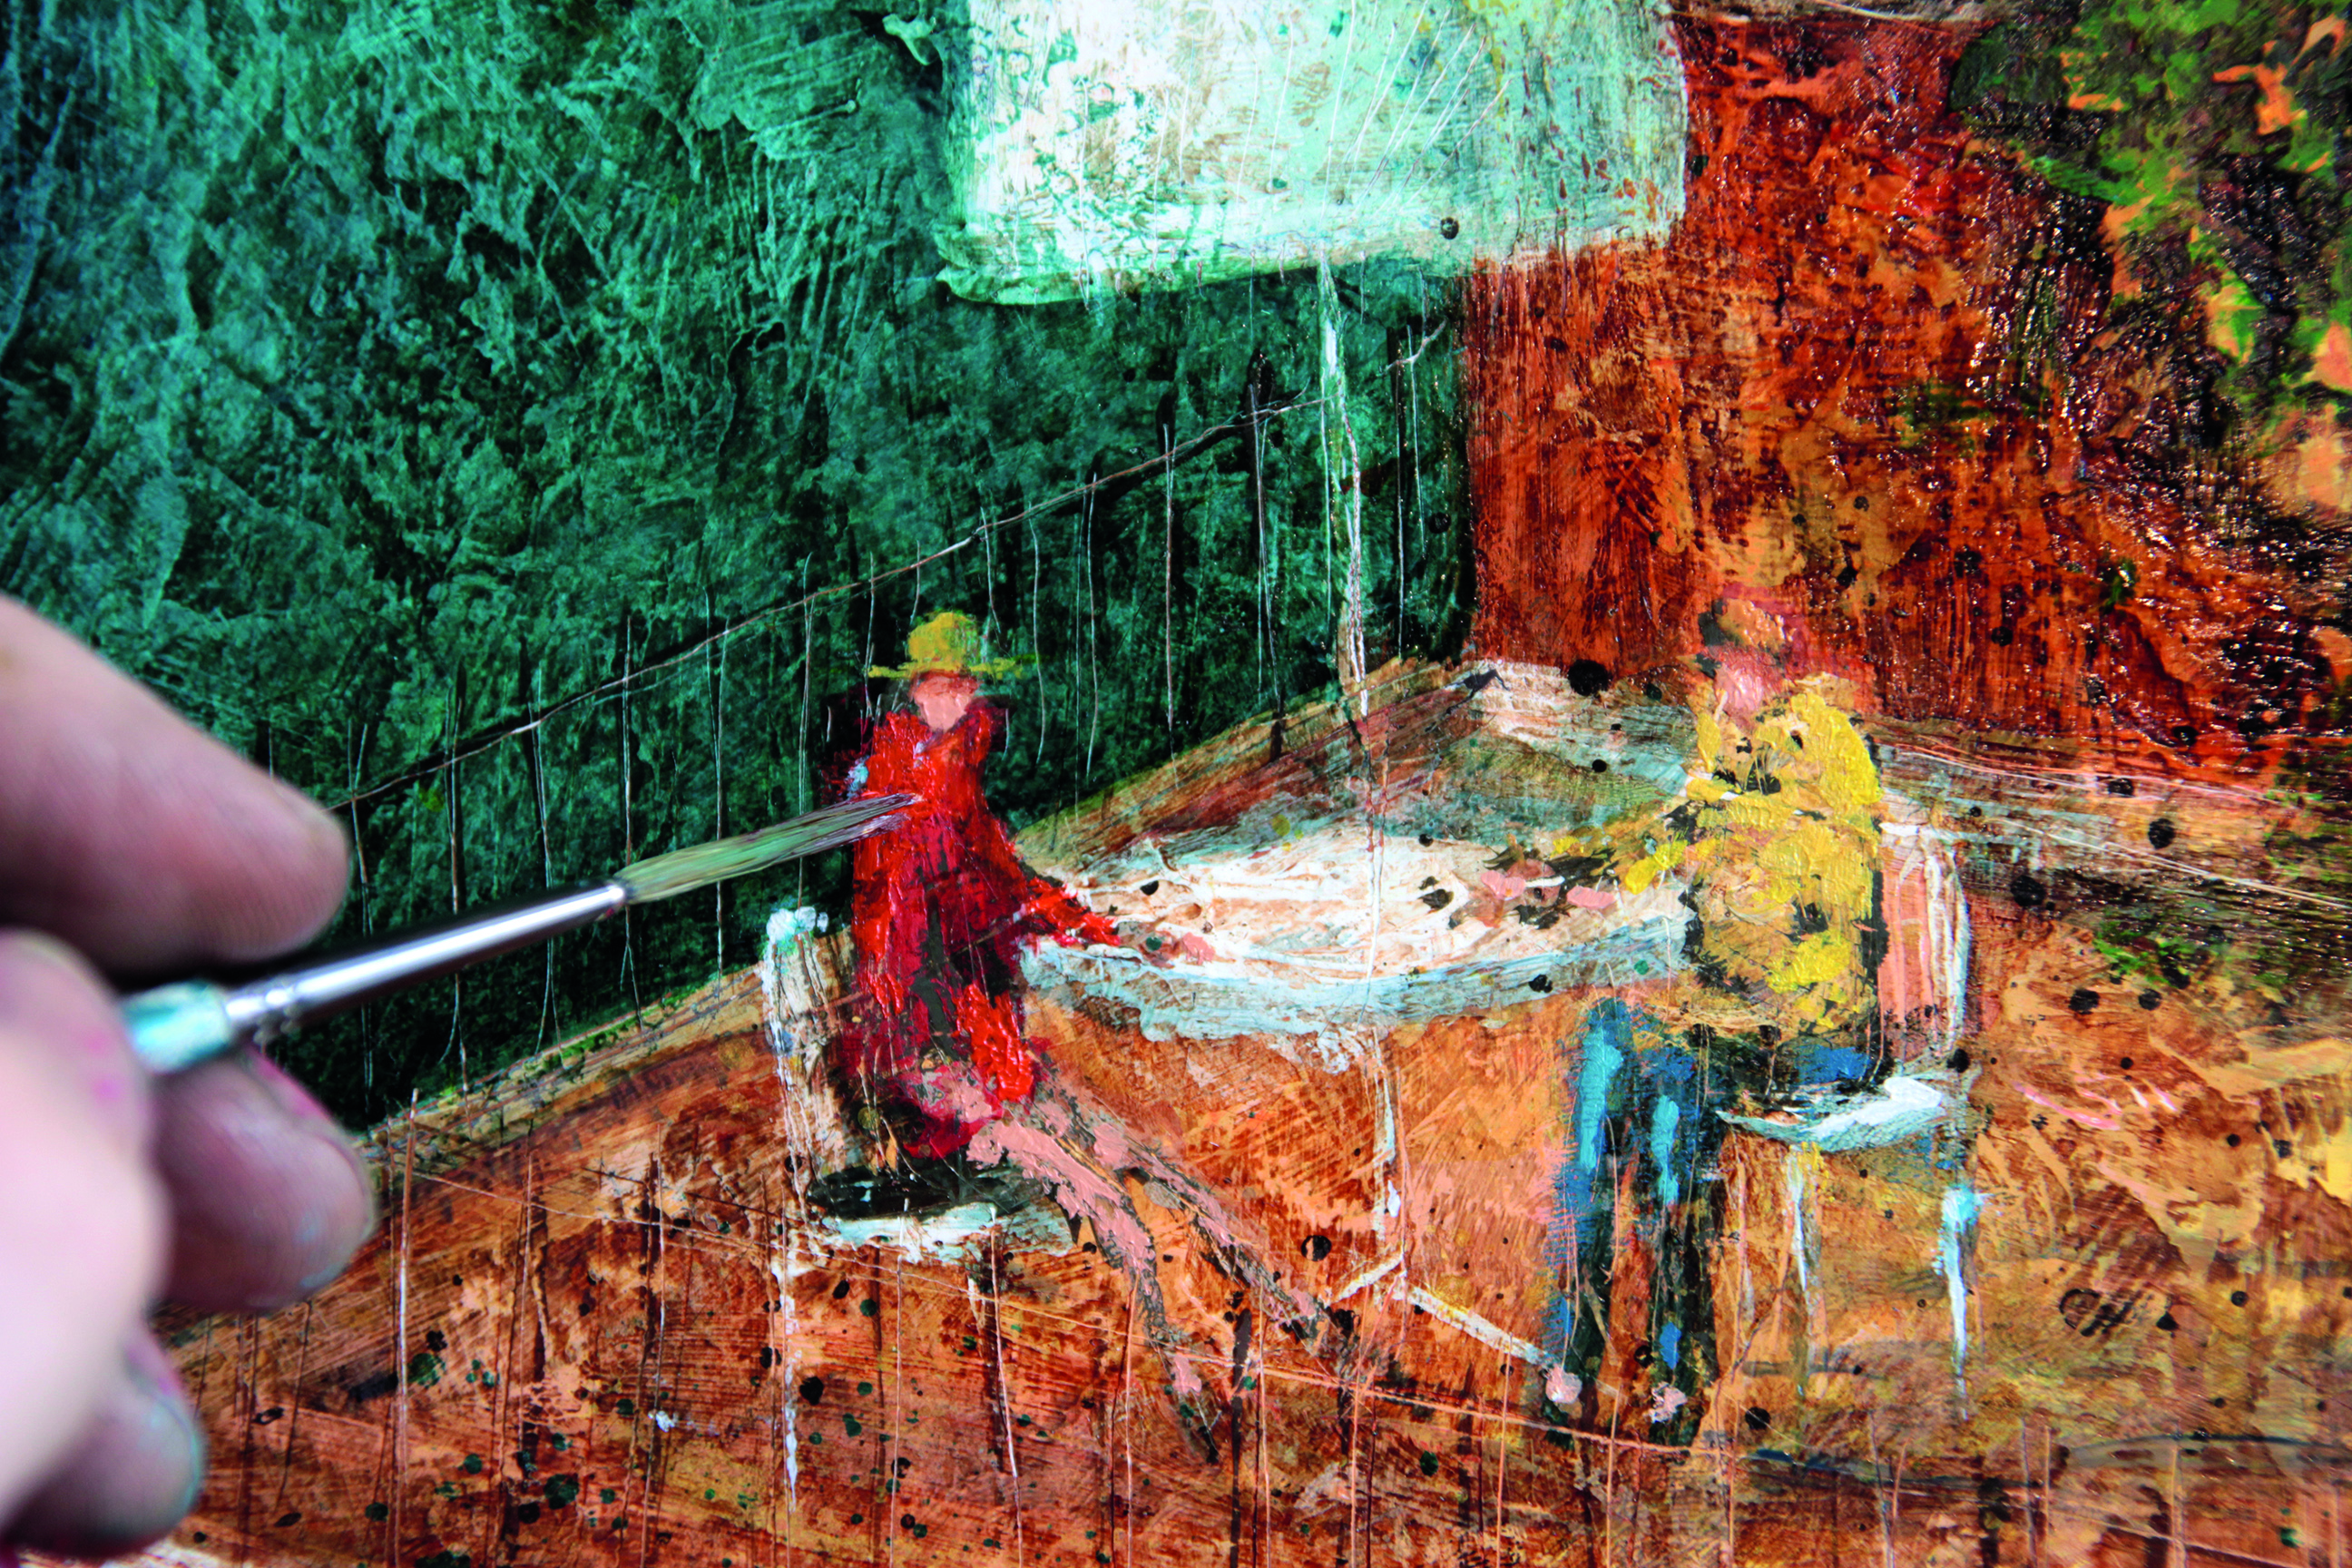
14. Enter the final stages
(Image: © Adrian Sykes)
We want to bring attention to the figures in the painting, so we add some unmixed colour straight from the tube. Be careful at this stage to not unbalance the painting and be too heavy with your approach. Just a subtle hint of vibrant colour will be enough. At this stage you can also use your blade to draw in some further detail.
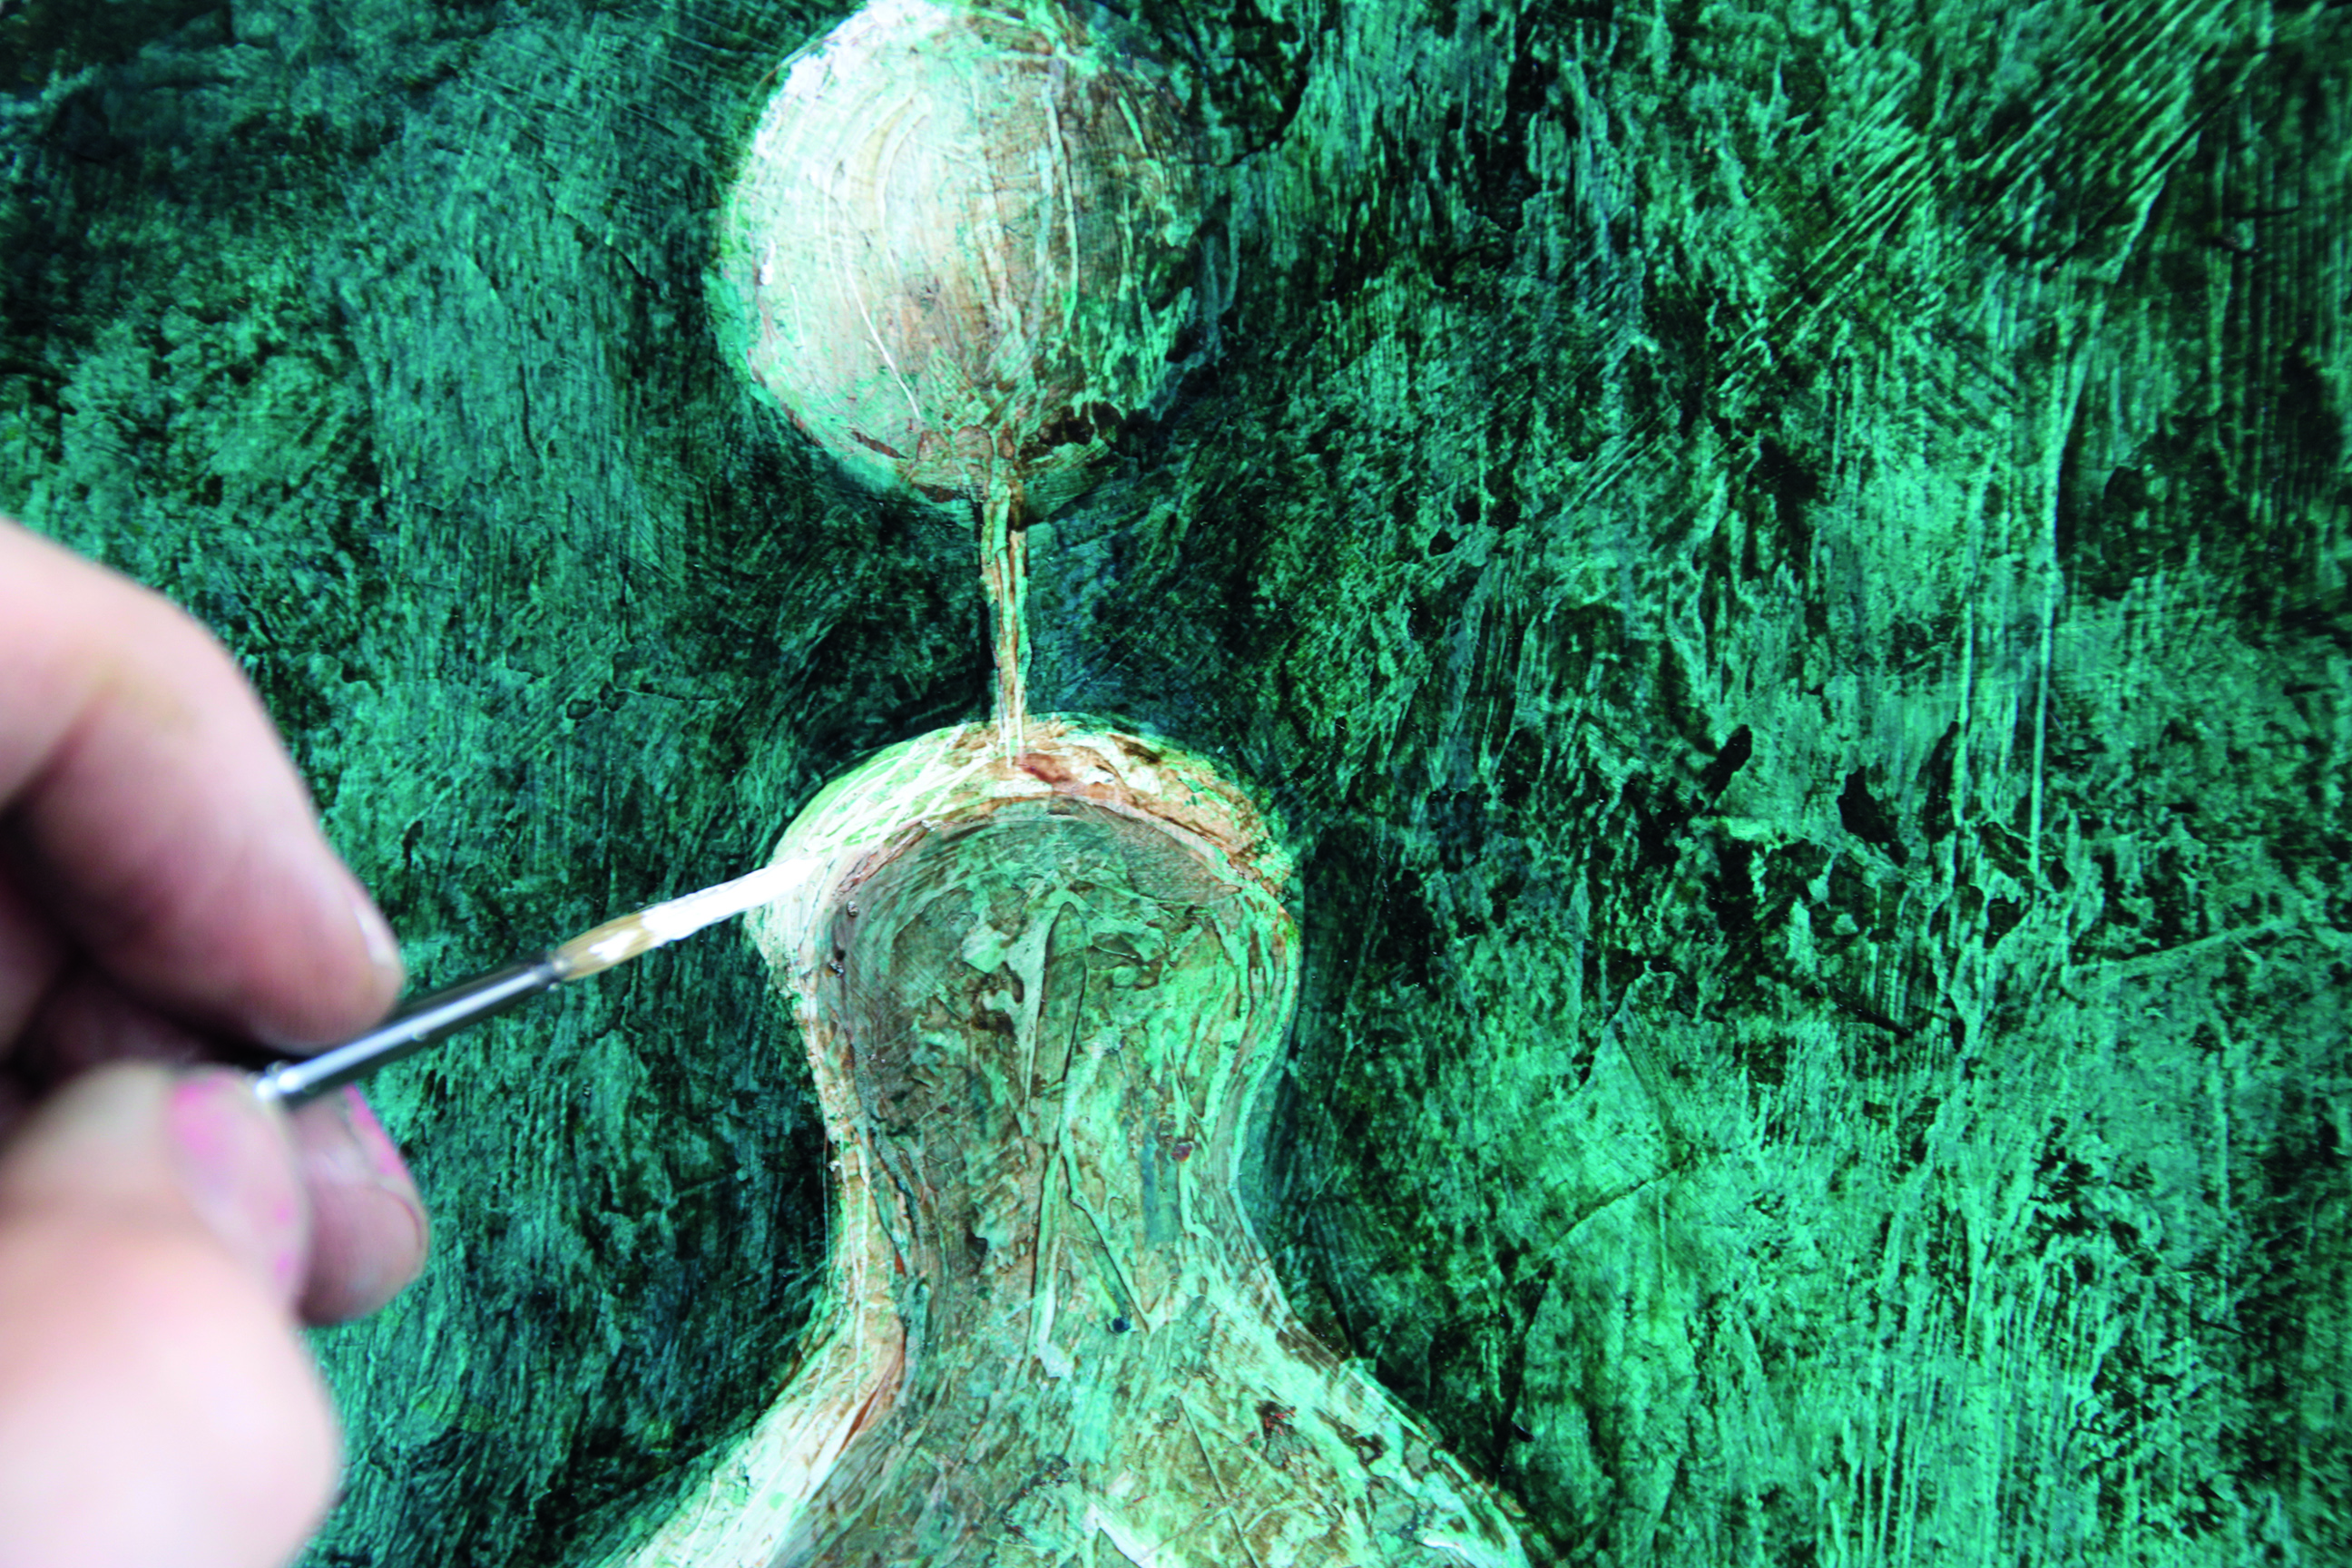
15. Add the finishing touches
(Image: © Adrian Sykes)
Highlights and glazed areas of colour in the foreground will add further interest in the areas you want to jump out, giving the painting a final sense of depth. It's always hard to know when a painting is finished, but when you start to run out of ideas it probably means that it's done!
This content originally appeared in Paint & Draw: Oils. You can buy the Oils bookazine here . Or explore the rest of the Paint & Draw bookazines .
Read more:
- Drawing apps for iPad: Get creative digitally
- Best pencils: The best mechanical, colouring and drawing pencils around
- Pencil shading techniques: Expert tips
Creating Textures With Acrylic Paint
Source: https://www.creativebloq.com/how-to/paint-on-a-board
Posted by: blackwellcrientic.blogspot.com
0 Response to "Creating Textures With Acrylic Paint"
Post a Comment